
¶ Introduction
The careful planning: delivery and management of learning in an organization contributes to improving worker confidence and quality of work as well as increasing productivity whilst ensuring organizations increase worker retention and staff morale and are compliant to legislation.
ISV enhancements to the standard Courses module in D365 allows for improved management and maintenance of learning in an organization including billing; scheduling and other tools.
¶ Navigation
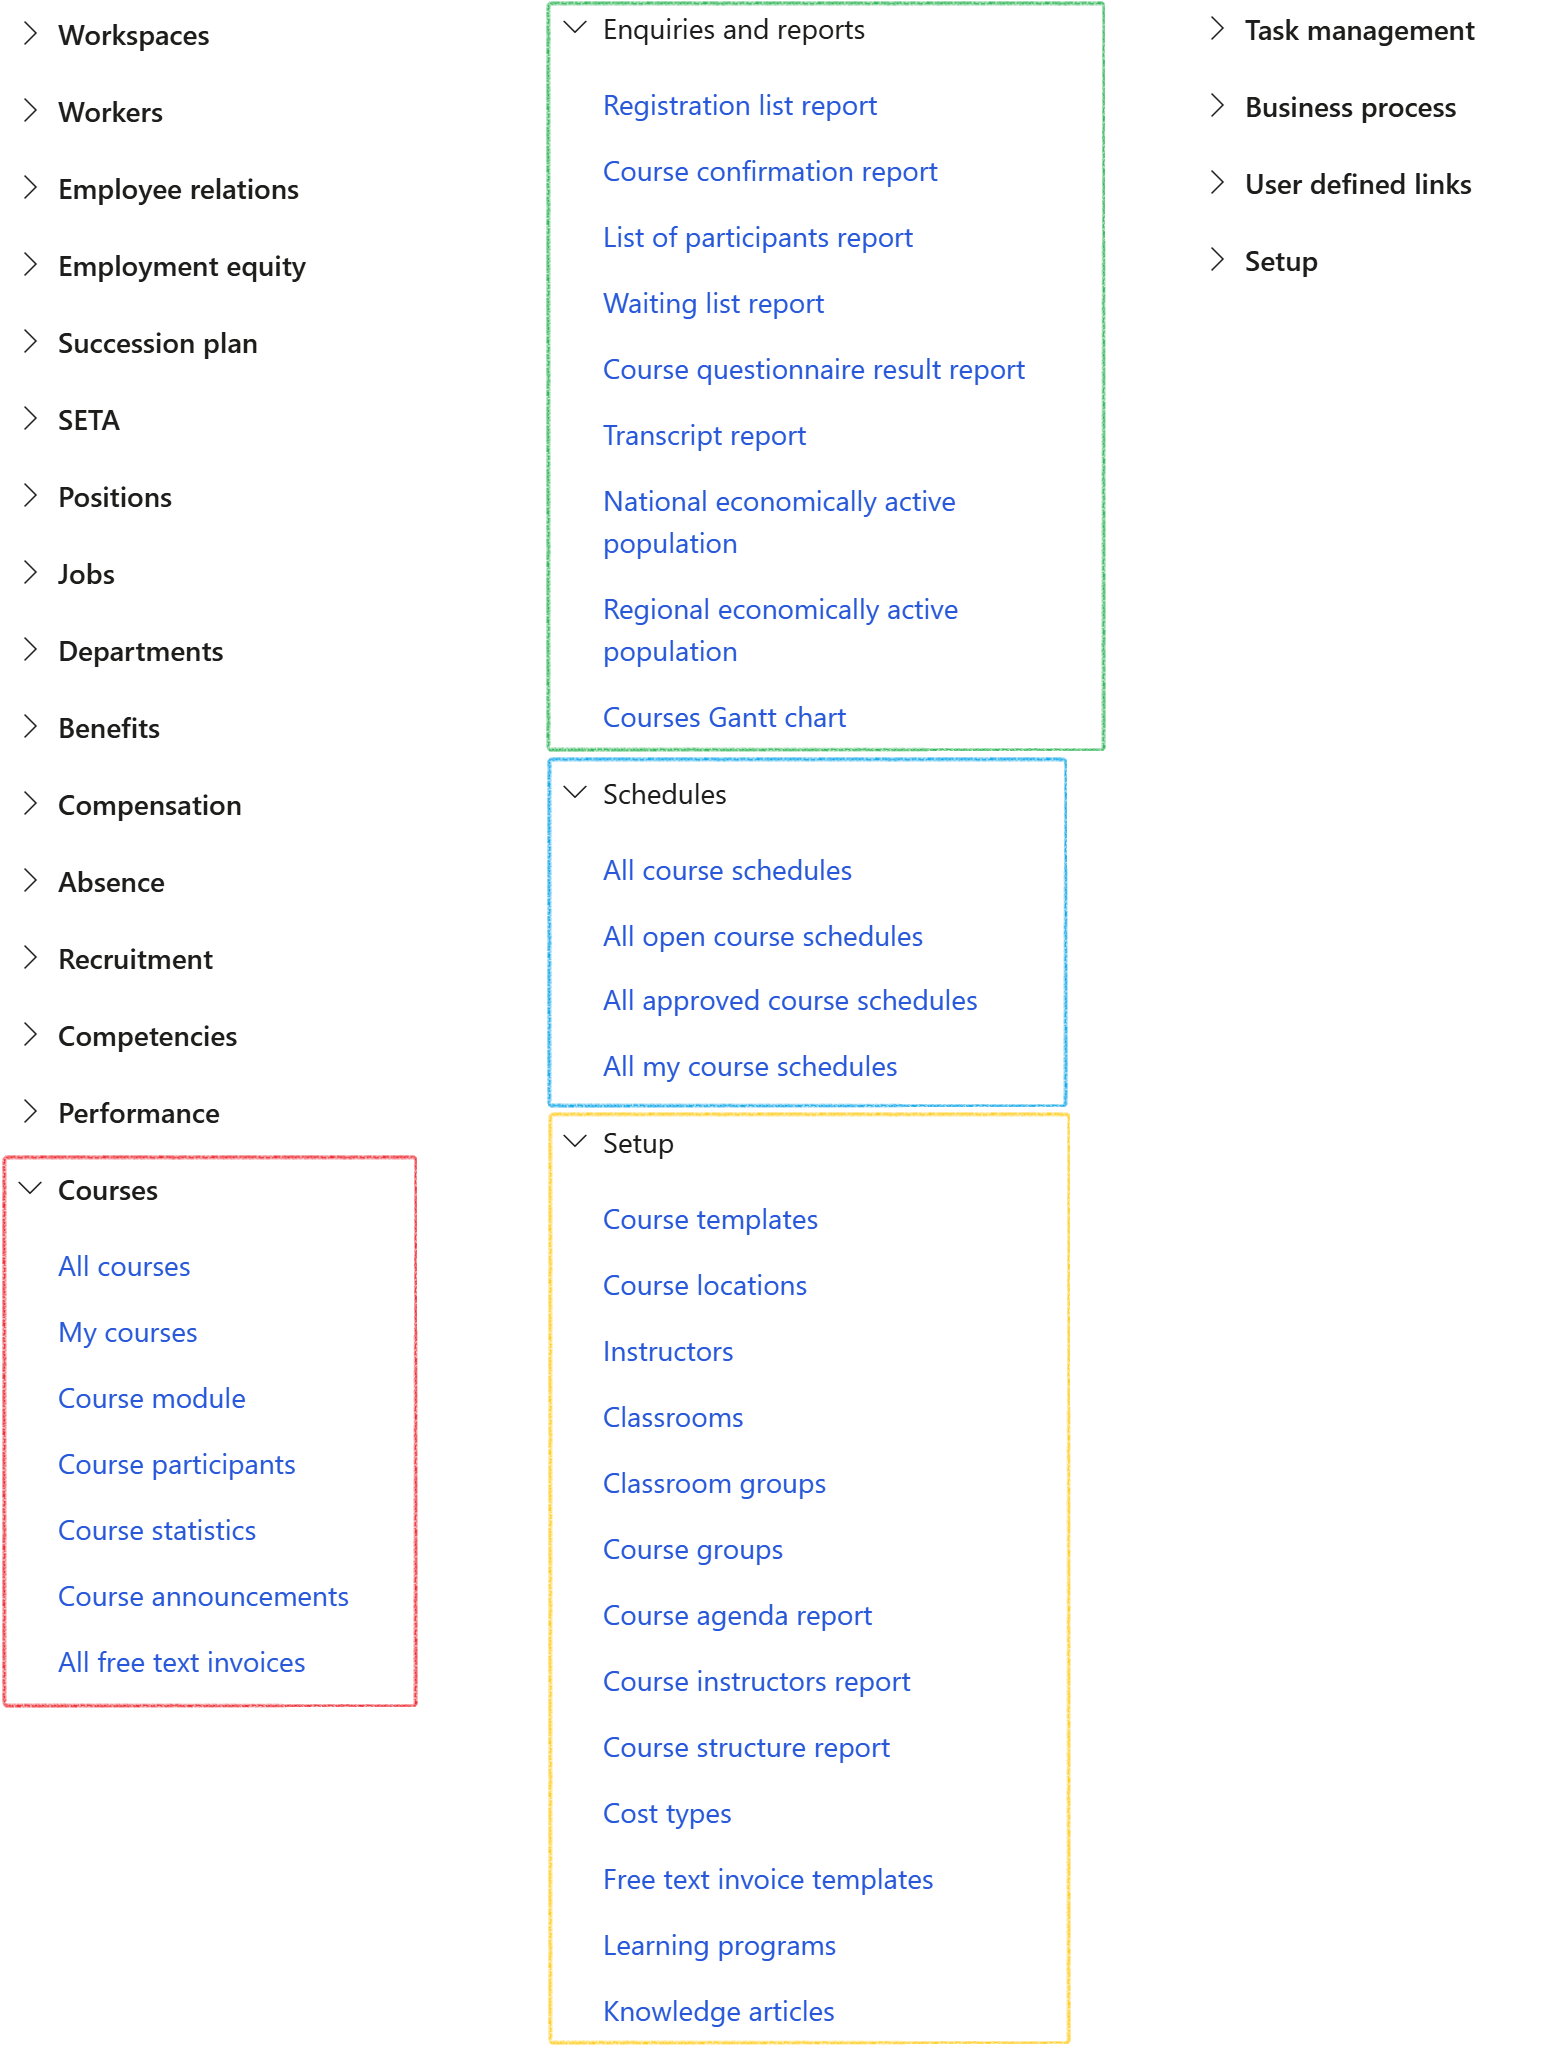
¶ Specific setups
Assumed setups:
- Course locations
- Instructors
- Workers
- Non-workers to be set up in the Global address book as Persons
- Vendors
- Knowlege articles
- Education disciplines
- Certificate types
- Questionnaires
- Questionnaire schedules
- Locations
- Classrooms
- Worker goals
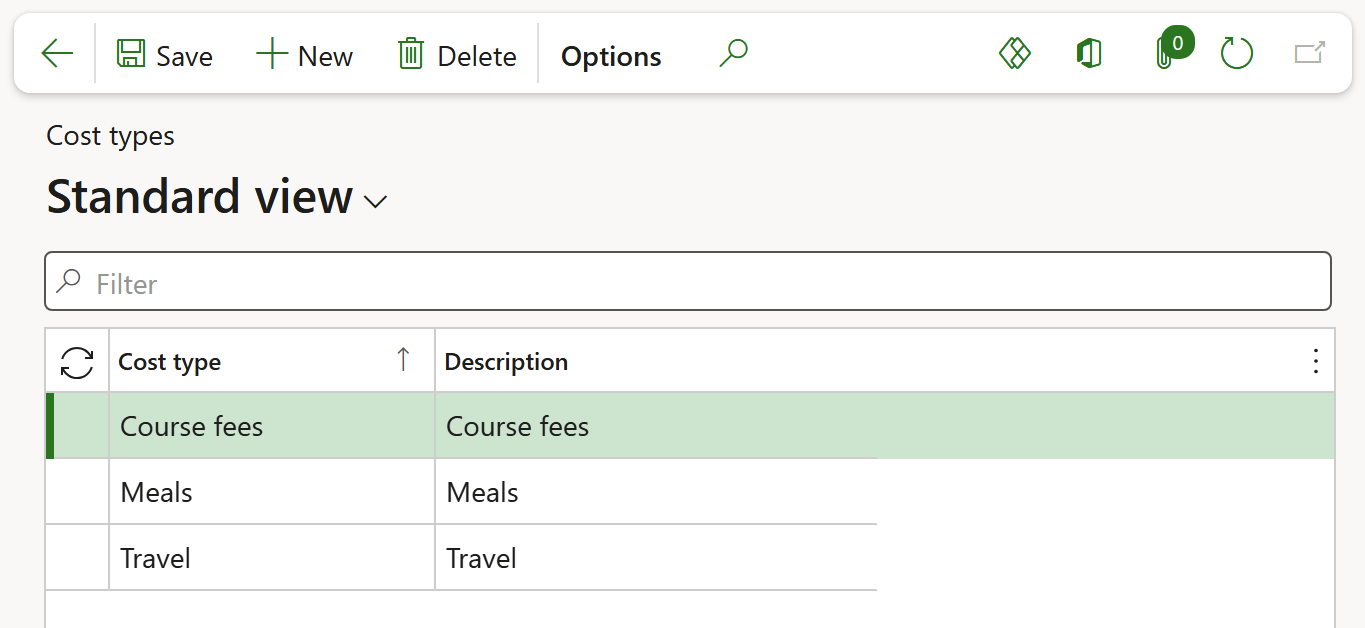
¶ Step 1: Setup cost types
Cost types are utilized during setup of courses to indicate the types of costs associated with the course.
- Go to Human resources > Courses > Setup > Cost types
- Click on New in the action pane
- Enter a Cost type name
- Enter a Description for the cost type
- Click on Save in the action pane
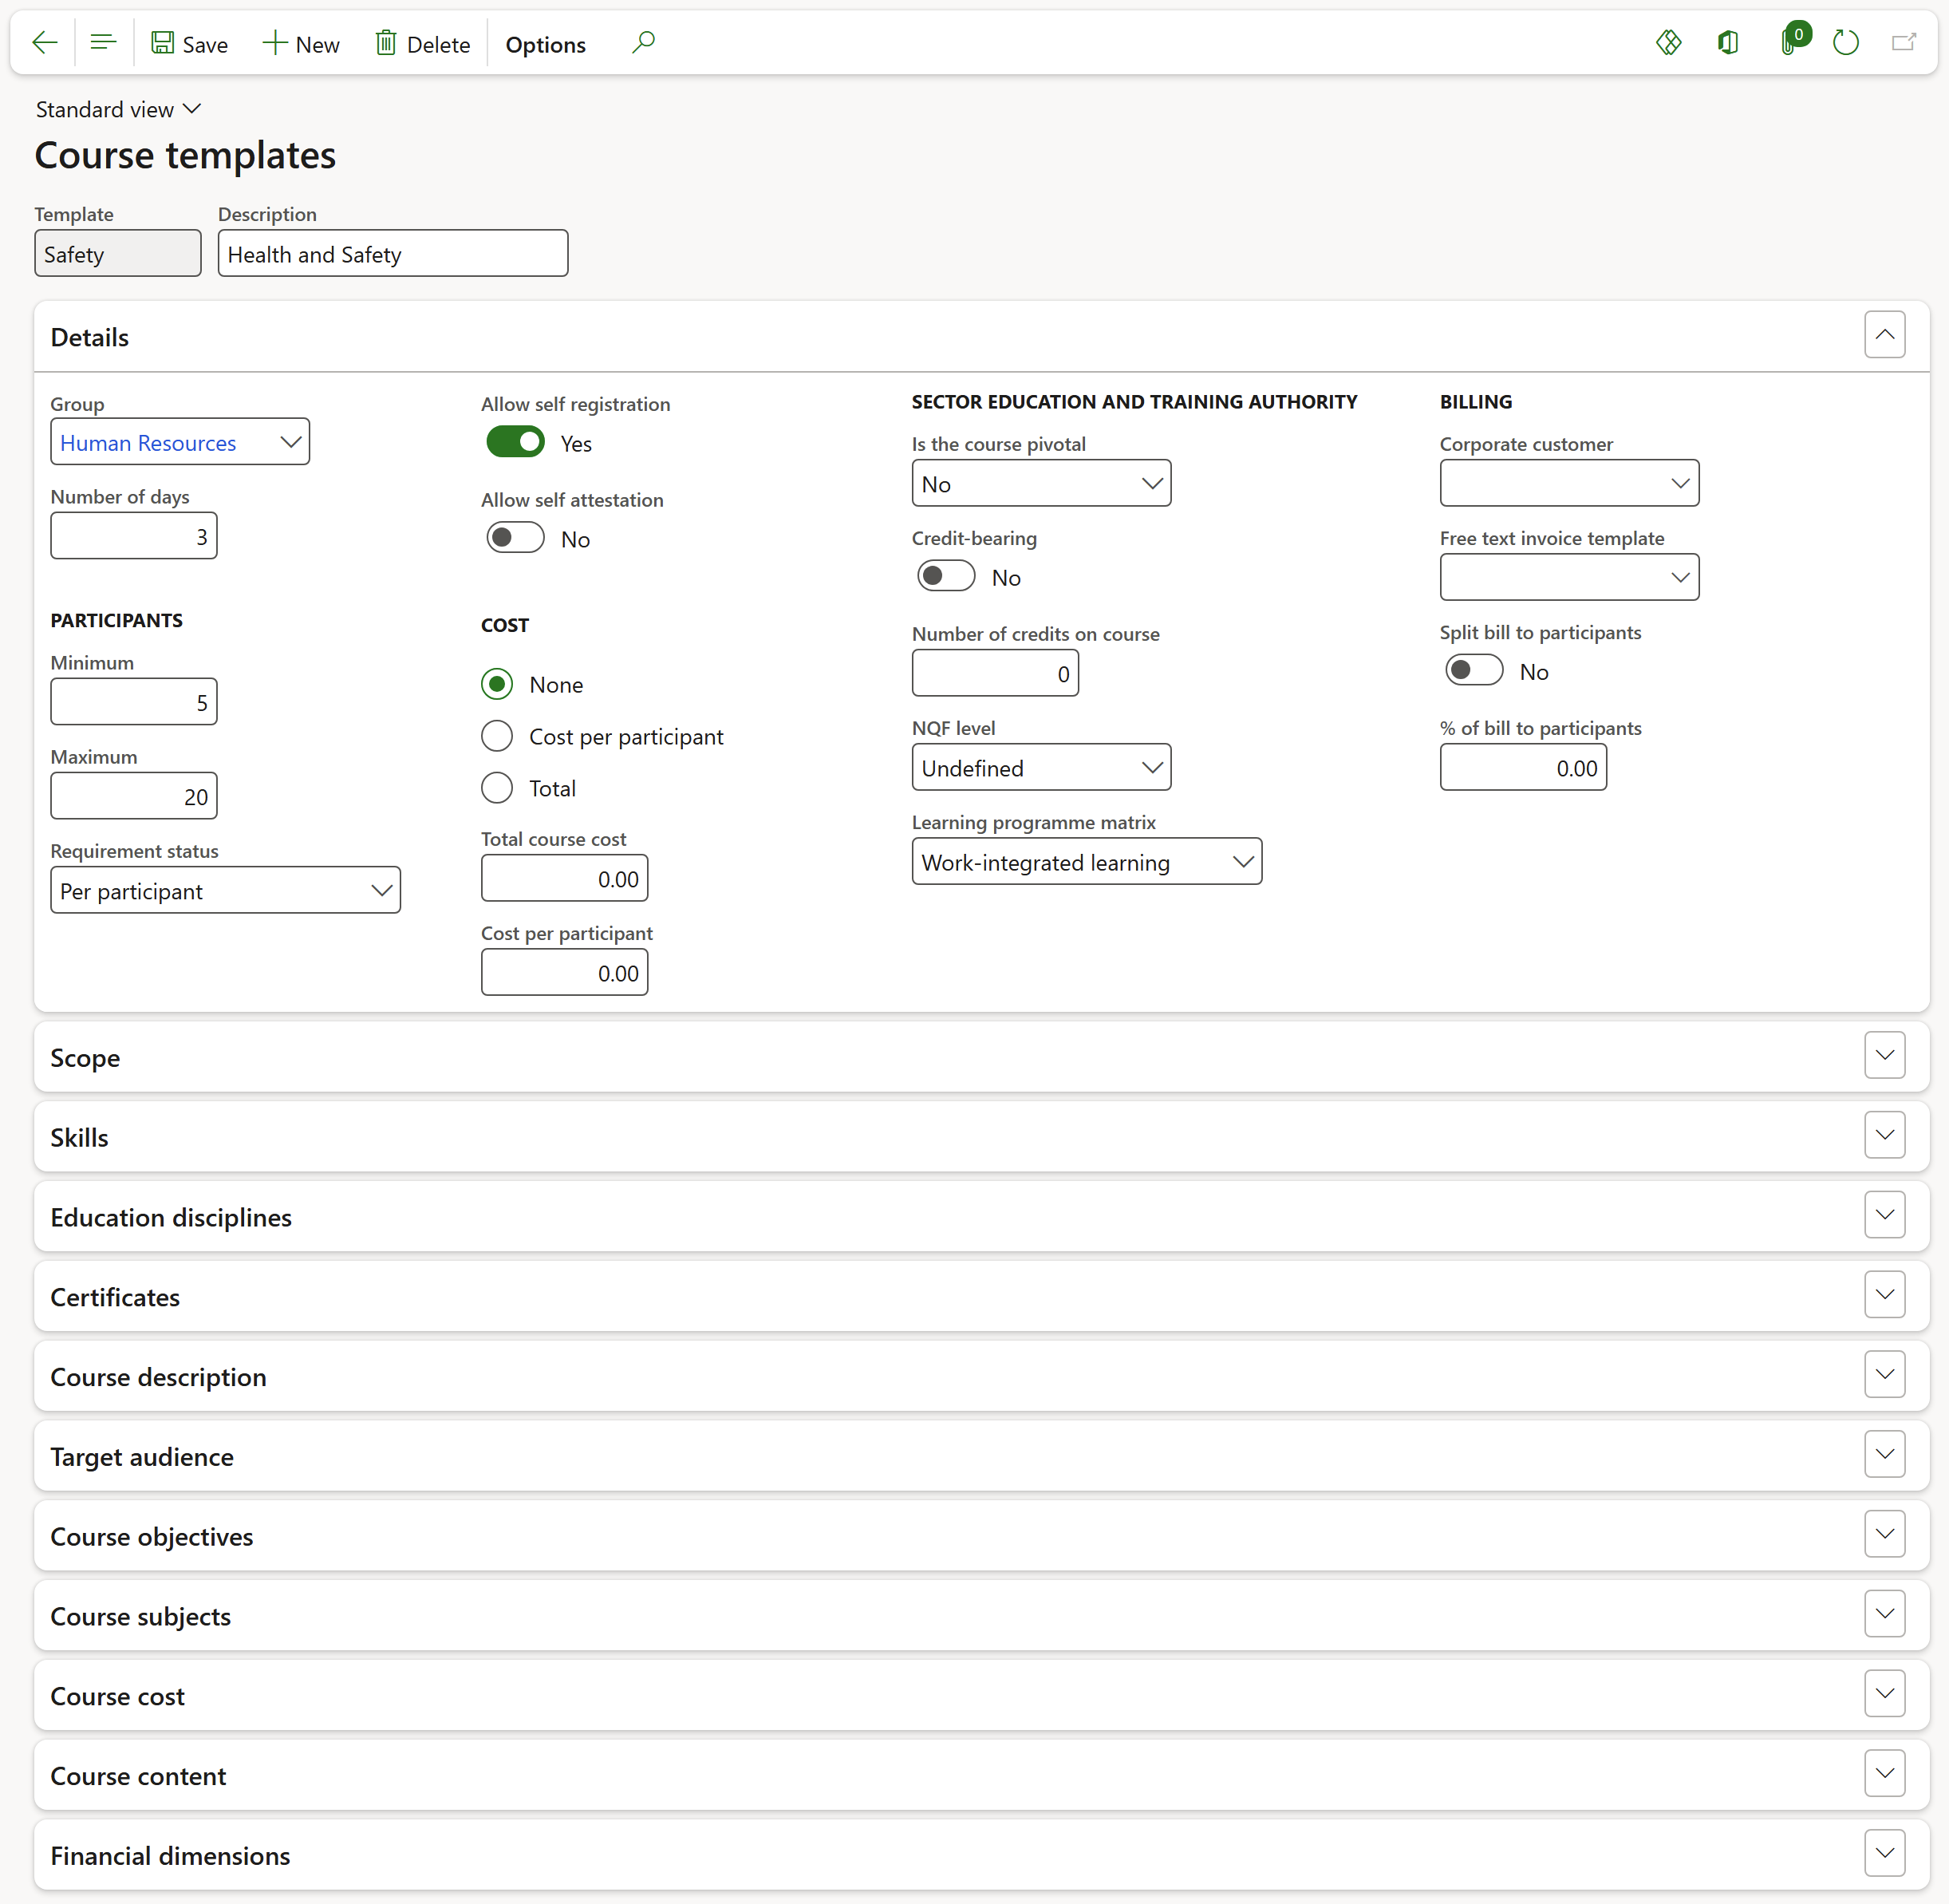
¶ Step 2: Setup course templates
A course template contains information relevant to all courses, for which the template is applied, including the minimum number of participants; competencies; intended scope etc. This allows for standard course settings to be easily applied to various courses and reduces unnecessary reptation of information when arranging courses.
- Go to: Human resources > Courses > Setup > Course templates
- Click on New in the action pane
- Enter a short template name in the Template field
- Enter a longer description in the Description field
- Expand the Details Fast tab
- In the Group field, select the relevant course group
- In the Number of days field, enter the number of days over which the course is presented
- In the Participants field group:
- In the Minimum field, enter the lowest number of participants required to be registered to make it feasible to present the course
- In the Maximum field, enter the highest number of participants required to be registered to make it feasible to present the course
- Select the correct option in the Requirements status dropdown list
- Select the Allow self registration slider button if learners may register themselves for the course
- Select the Allow self attestation slider button if learners may indicate themselves as present at a course
- in the Cost field group:
- Select the appropriate Cost option i.e. None; Cost per participant or Total.
- If required, enter the Total course cost
- Enter a value for Cost per participant if this cost option was selected.
- Select an appropriate option in the Is the course pivotal dropdown list
- In the Sector education and training authority field group:
- Select Yes if the course is Credit-bearing
- Enter the Number of credits on course if applicable
- Select the appropriate NQF level from the dropdown list if applicable
- Select the appropriate Learning programme matrix from the dropdown list if applicable
- In the Billing field group:
- Select a Corporate customer from the dropdown list if applicable
- Select the Free text invoice template if applicable
- Click on the Split bill to participants slider button if required
- Enter a value in the % of bill to participants field if applicable
- Expand the Scope Fast tab
- If required, select the appropriate Scheduling period from the dropdown list
- Select the Site from the dropdown list
- Select the Department from the dropdown list
- Select the Team from the dropdown list
- Select the Owner from the dropdown list

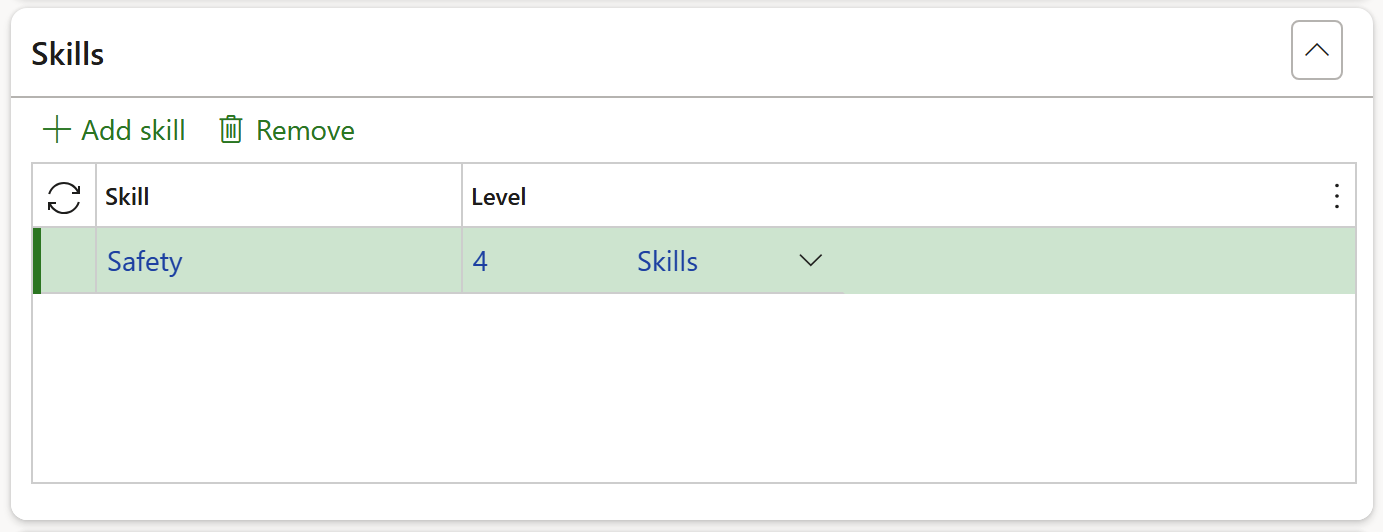
- Expand the Skills Fast tab to add skills and skill levels
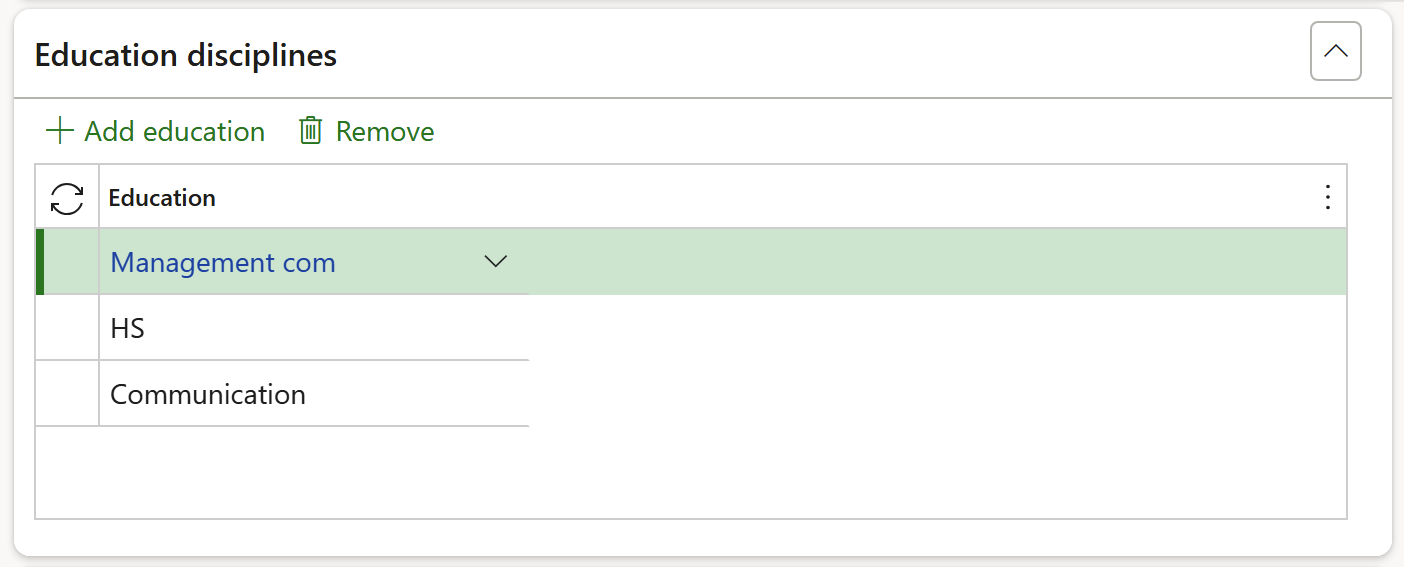
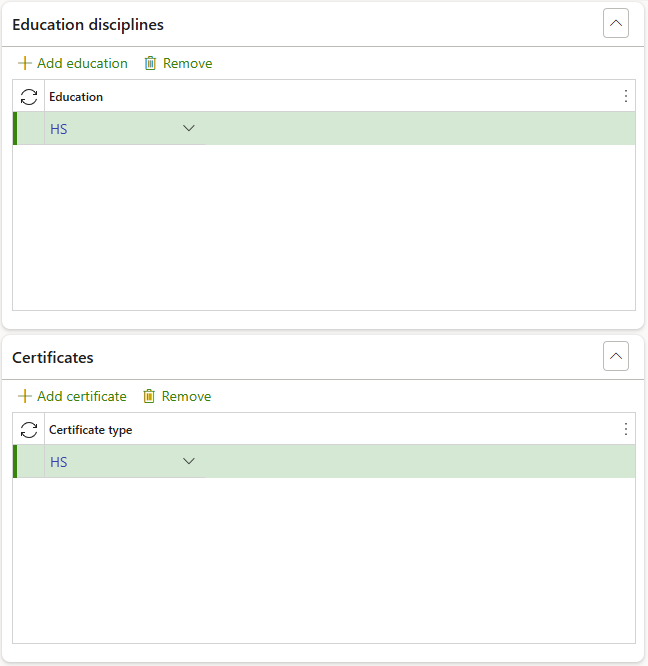
- Expand the Education disciplines Fast tab to add education items if relevant
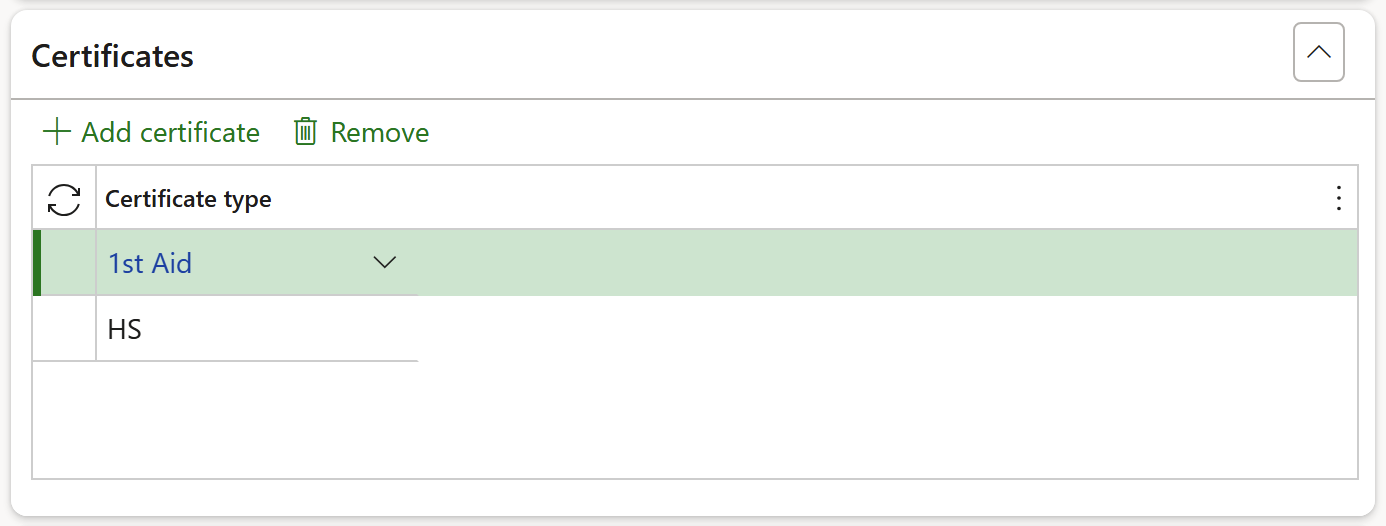
- Expand the Certificates Fast tab to add certificate types if relevant
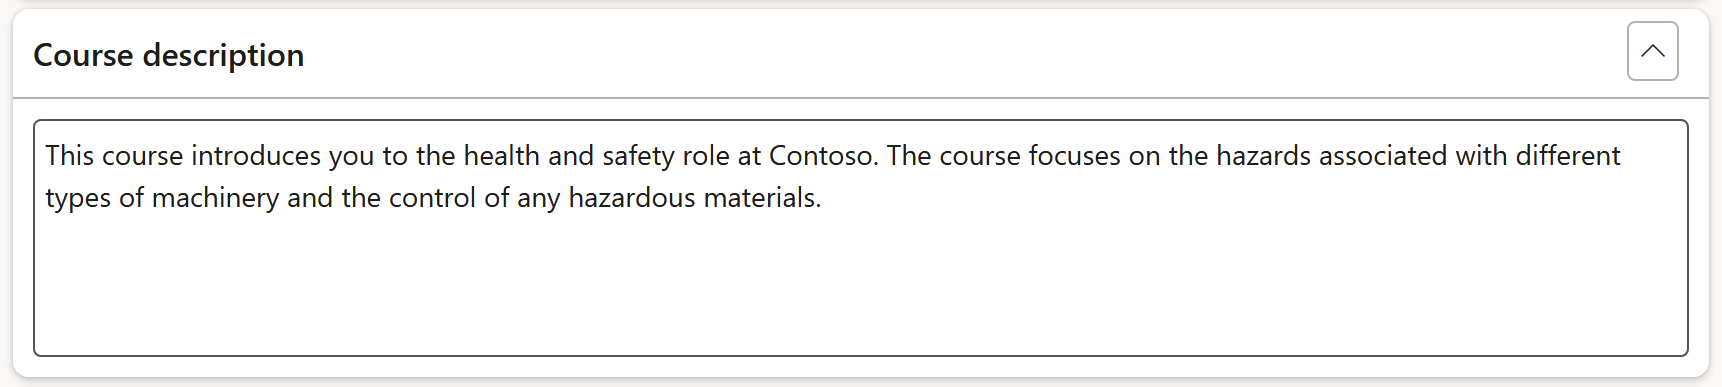
- Expand the Course description Fast tab and enter a description in the memo box
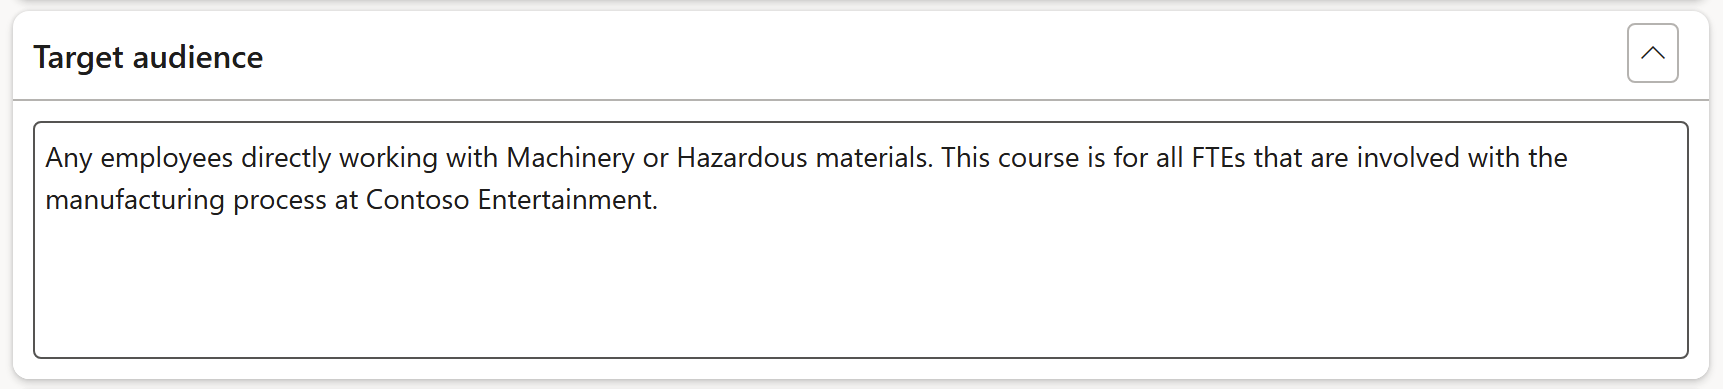
- Expand the Target audience Fast tab and enter information on the target audience in the memo box
- Expand the Course objectives Fast tab and enter the relevant information in the memo box
- Expand the Course subjects Fast tab and enter the course subjects in the memo box
- Expand the Course cost Fast tab to add costs associated with the course if applicable
- Indicate whether the cost type is in-SETA funding by ticking the box
- Click on the Attachments button to add relevant documents for the cost type

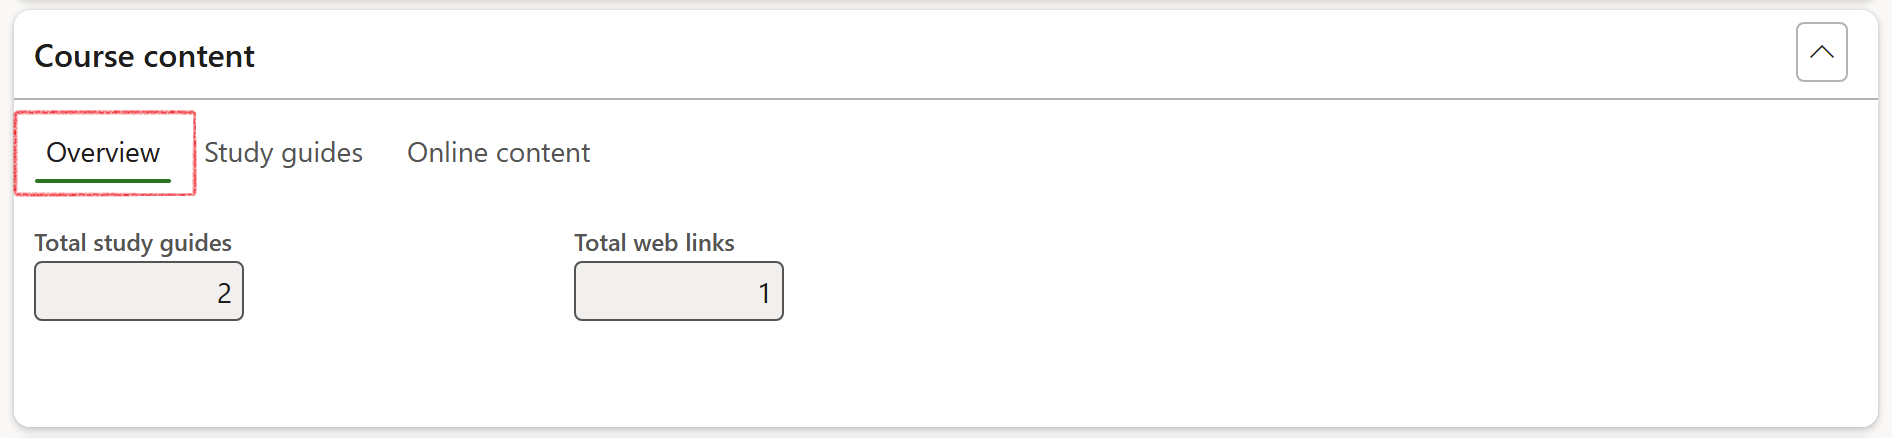
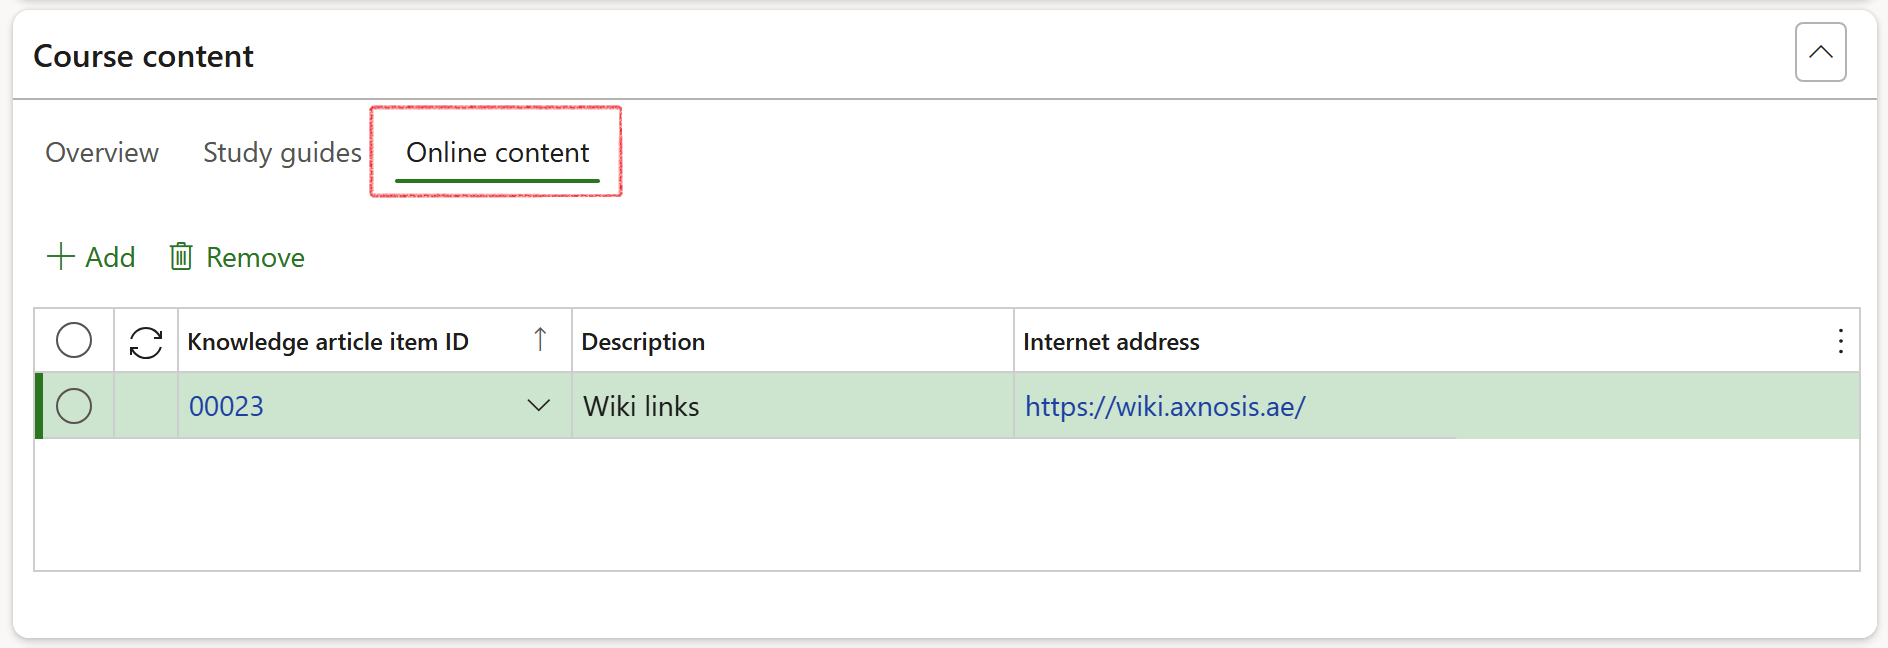
- Expand the Course content Fast tab
- A summary of the information entered under the Study guides and Online content Index tabs can be viewed under the Overview Index tab
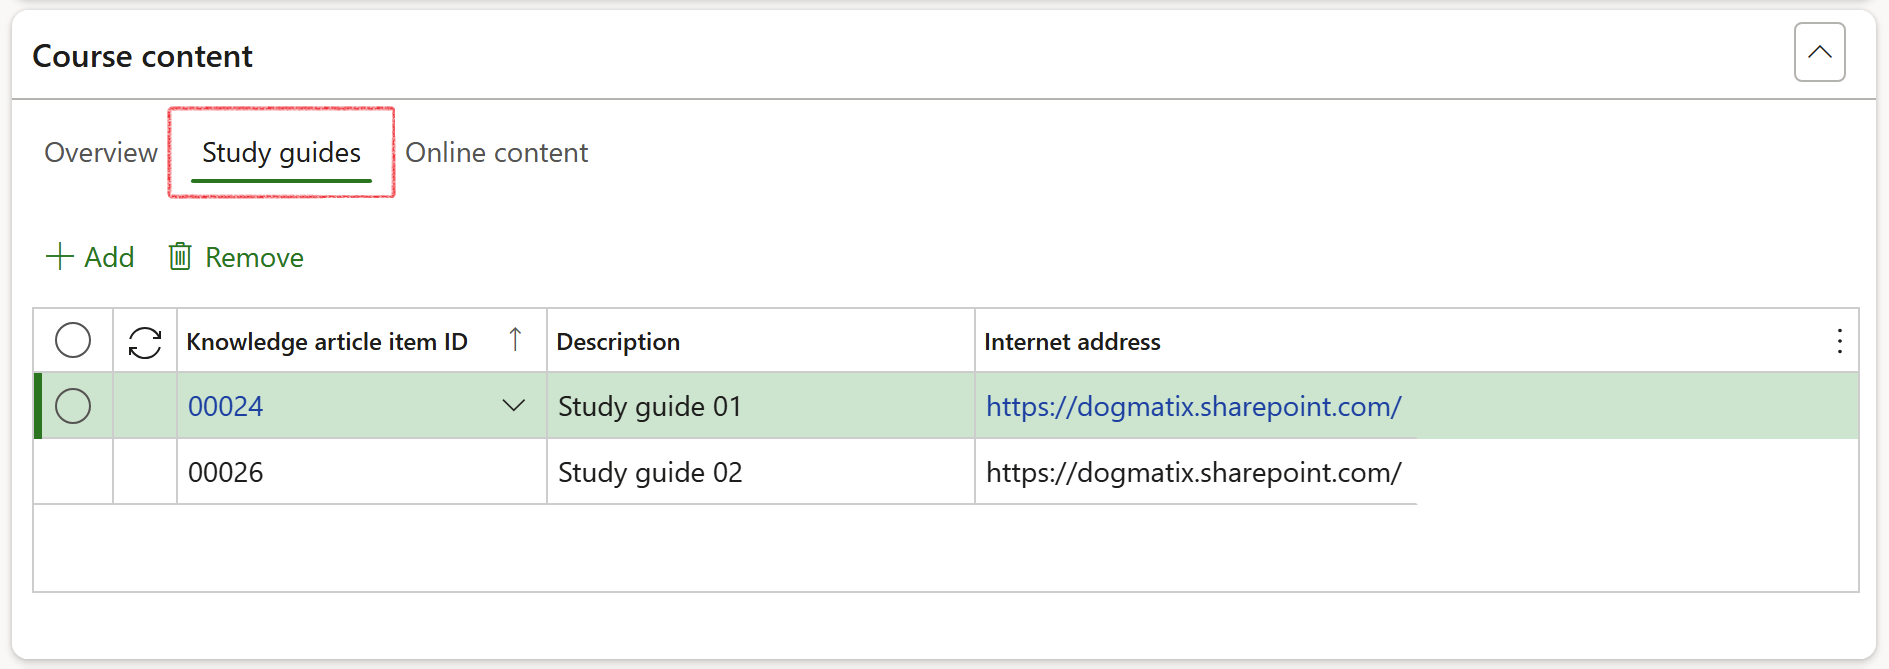
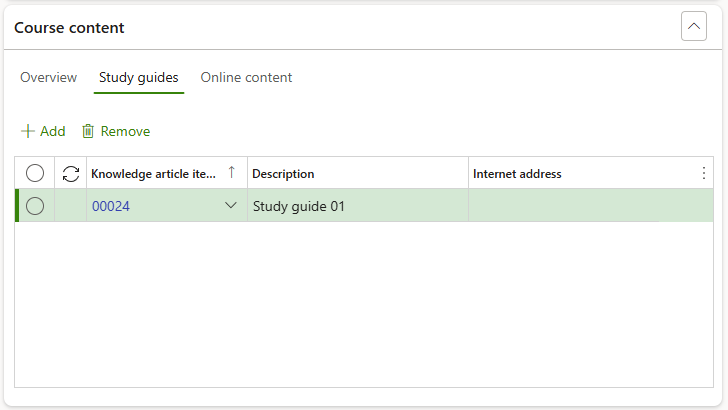
- Open the Study guides Index tab to add Knowledge article items associated with the course
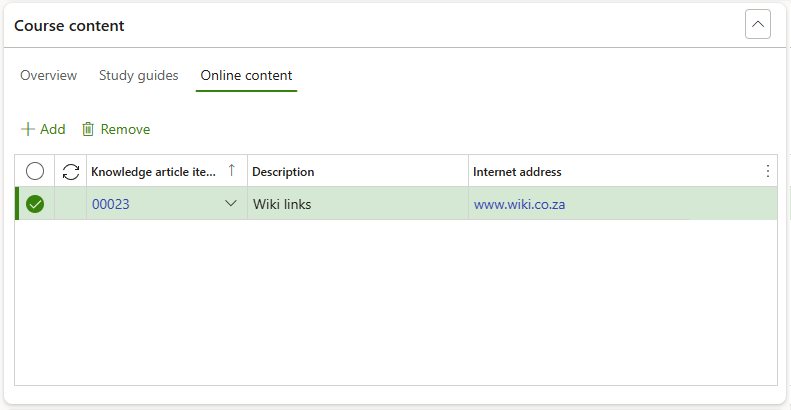
- Open the Online content Index tab to add Link type knowledge article items associated with the course
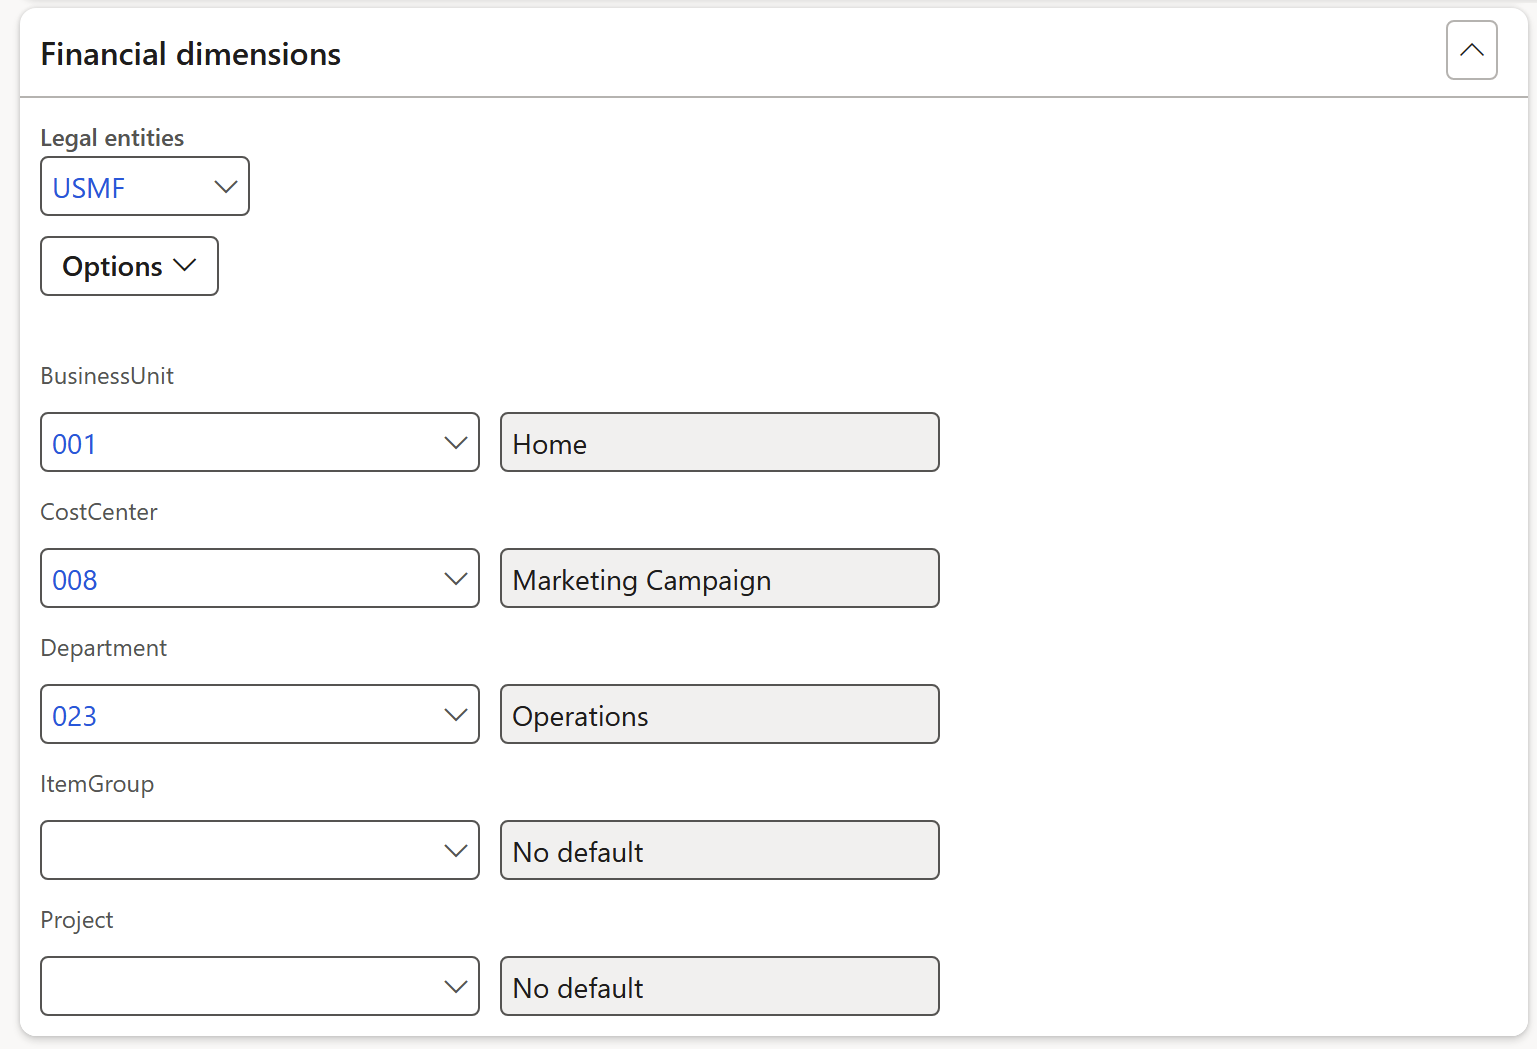
- Expand the Financial dimensions Fast tab to complete the relevant fields
- Click on the Save button in the Action pane
¶ Daily use
¶ Step 3: Create a course
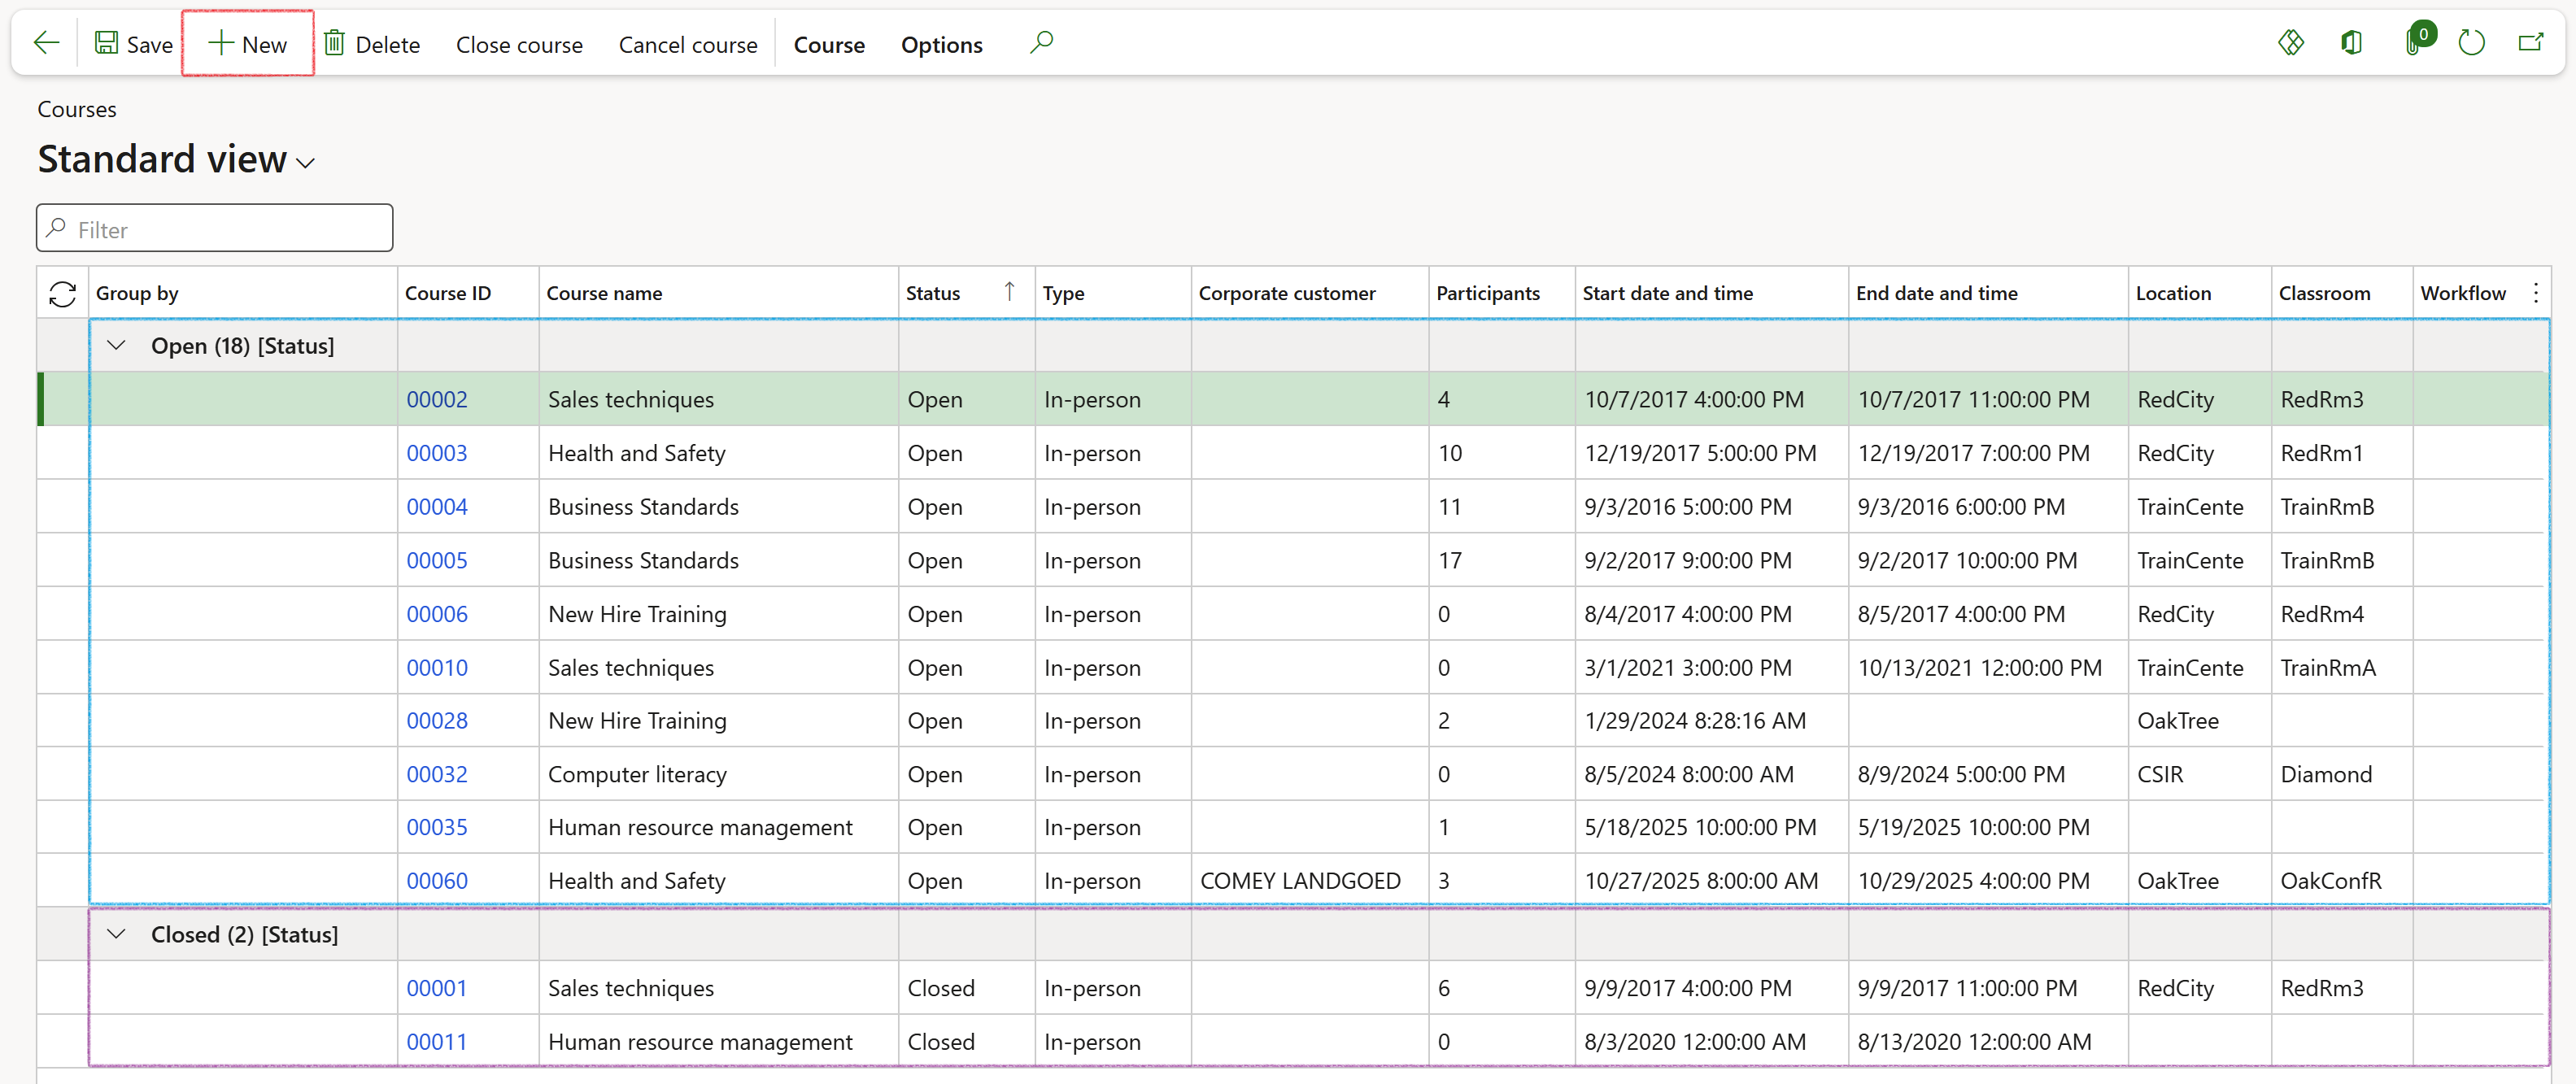
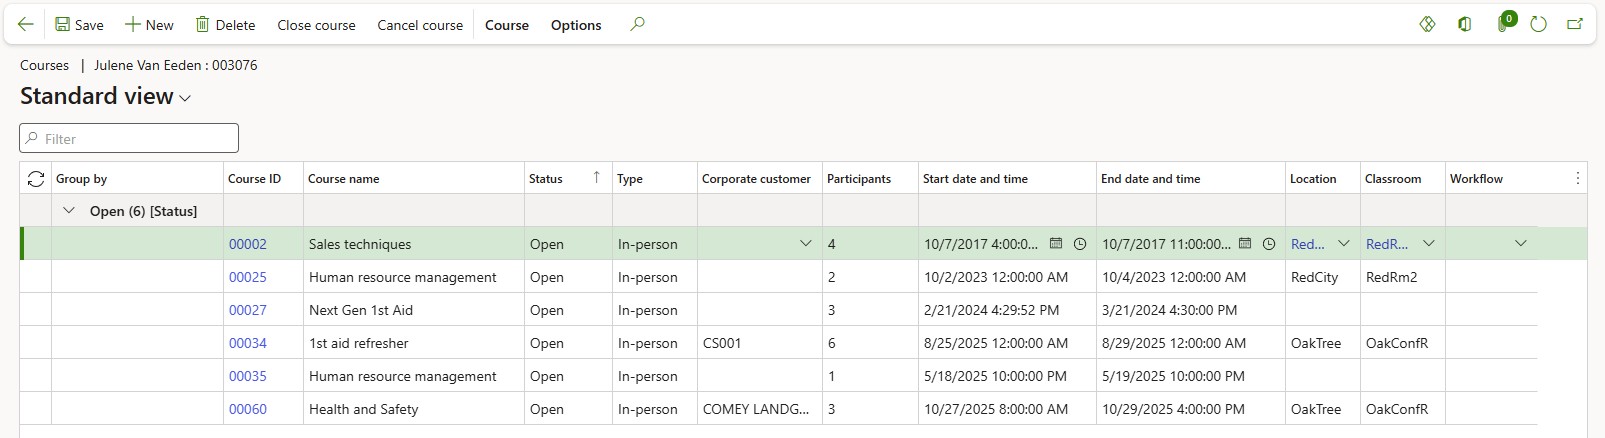
- Go to: Human resources > Courses > All courses
On the all courses list page, cources are grouped based on status:
- Draft: The course is still being set up and not available to add participants yet
- Open: The course is in use and participants may be added if whithin the allowed set period
- Closed: The course has ended and no longer accepting participants
- To create a new course, click on New in the action pane
¶ Step 3.1: Add course details
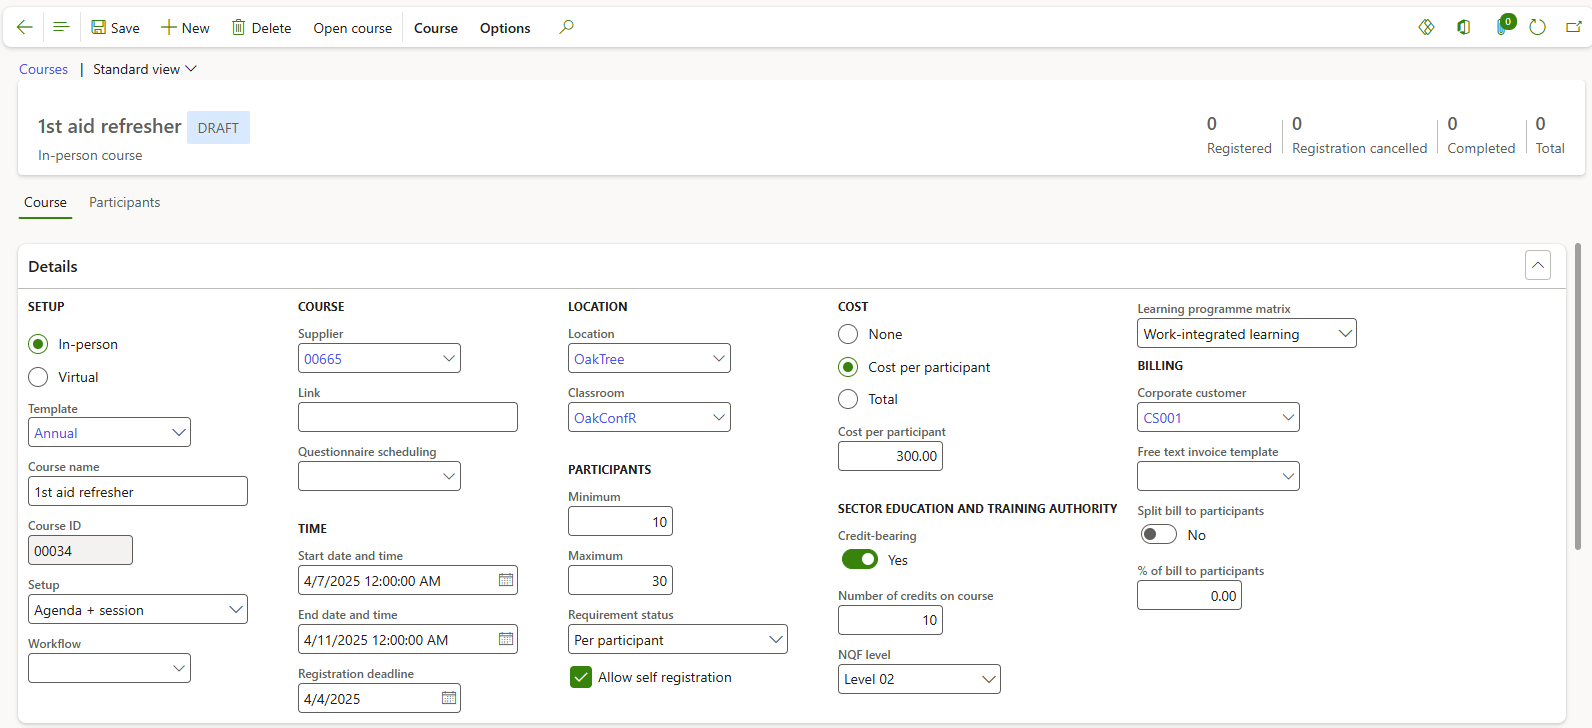
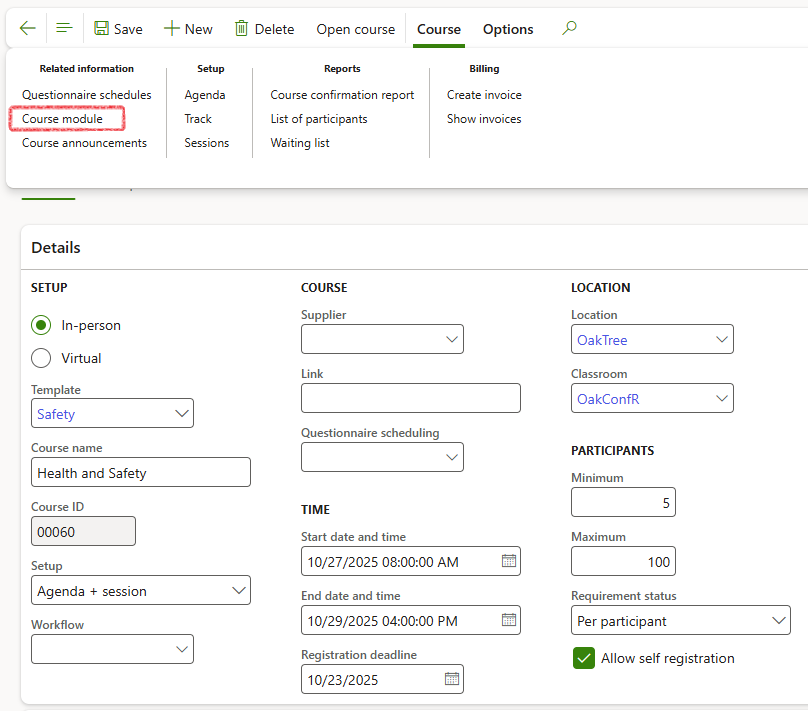
- Expand the Details Fast tab
- Complete the following under the Setup field group:
- Select either In-person or Virtual to indicate how the course will be presented
- If applicable and available, select a preset course Template from the dropdown list
If a template is selected, the preset information will default to the course form. If a template is not selected, the fields will have to be completed manually.
- Enter a Course name
The course ID defaults as defined in the HR number sequencing parameters and cannot be edited
- In the Setup field, select the appropriate option from the dropdown list:
- Standard is used when the course does not require an agenda
- Agenda is used when the course requires an agenda where items may be specified for each day of the course
- Agenda + session is used to specify sessions during each agenda items for each day of the course
- If Workflow should be used, select the correct option from the dropdown list
- In the Course field group, complete the following fields:
- Select a Supplier if appropriate from the dropdown list
- Enter a Link to online information or resources if applicable
- If applicable, select the correct option in the Questionnaire scheduling dropdown list
Creating Questionnaire schedules is standard Microsoft functionality. Axnosis is not responsible for maintaining the website.
Distribute and schedule questionnaires - Human Resources | Dynamics 365 | Microsoft Learn
- Complete the following under the Time field group:
- Select a course Start date and time
- Select a course End date and time
- Select a course Registration deadline
- Complete the following under the Location field group:
- Select the correct Location from the dropdown list
- Select the correct Classroom from the dropdown list
- Complete the following under the Participants field group:
- Enter the Minimum number of participants required for the course
- Enter the Maximum number of participants required for the course
- Select the correct option in the Requirements status dropdown list
- Select the Allow self registration check box if learners may register themselves for the course
- In the Cost field group select either None; Cost per participant or Total
If Cost per participant is selected or Total, then an additional field will be enabled where the cost value may then be specified for either
- Complete the following under the Sector Education and Training Authority field group:
- Select Yes if the course is Credit-bearing
- Enter the Number of credits on course if applicable
- Select the appropriate NQF level from the dropdown list if applicable
- Select the appropriate Learning programme matrix from the dropdown list if applicable
- Complete the following under the Billing field group:
- Select a Corporate customer from the dropdown list if applicable
- Select A Free text invoice template if required
- Move the Split bill to participants slider to Yes if that is the requirement
- Enter a value in the % of bill to participants field if applicable
- Expand the various Fast tabs to add additional information including as explained in Course template creation in previous steps and as per standard D365 practice:
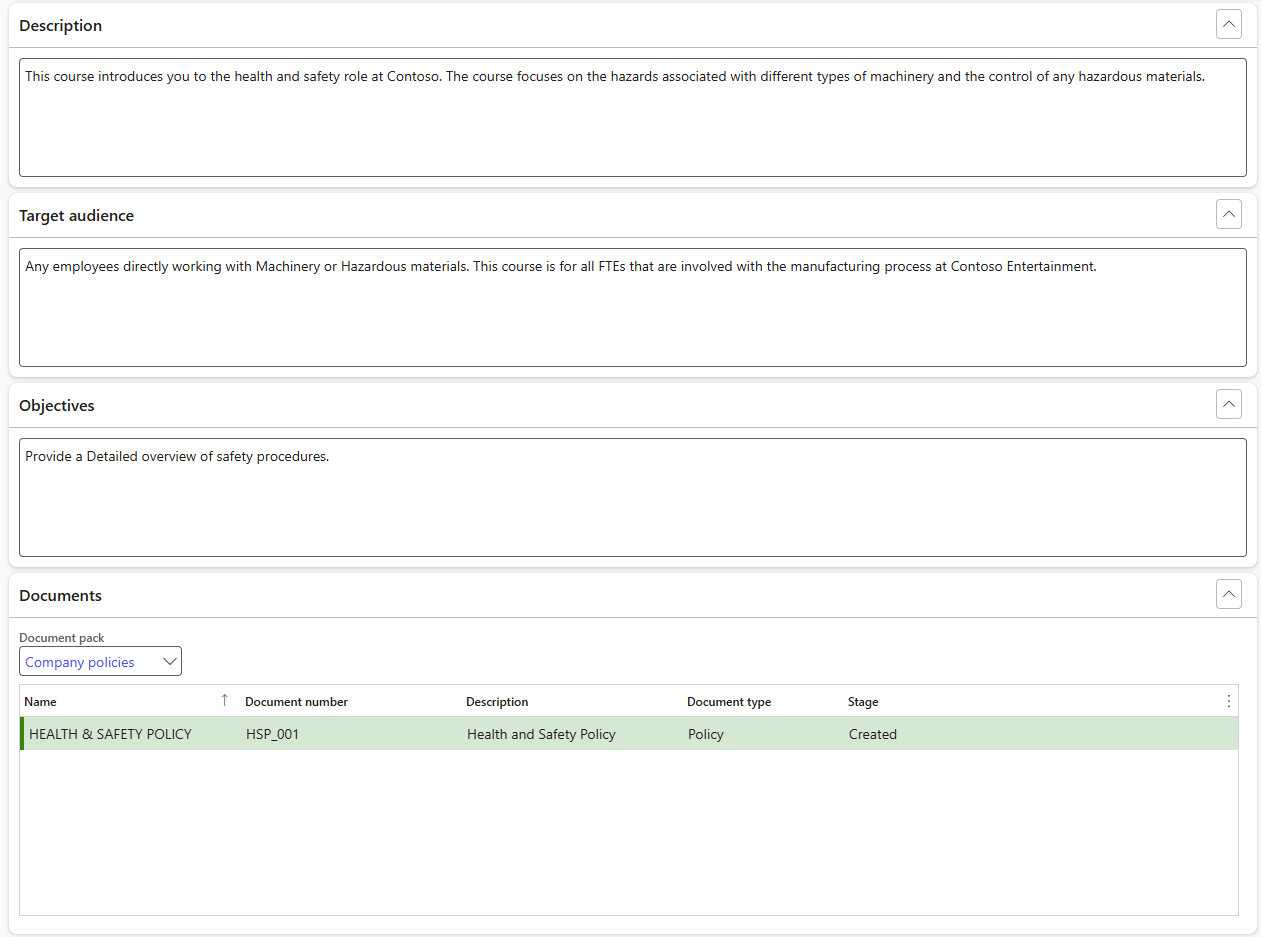
- Description
- Target audience
- Objectives
- Documents
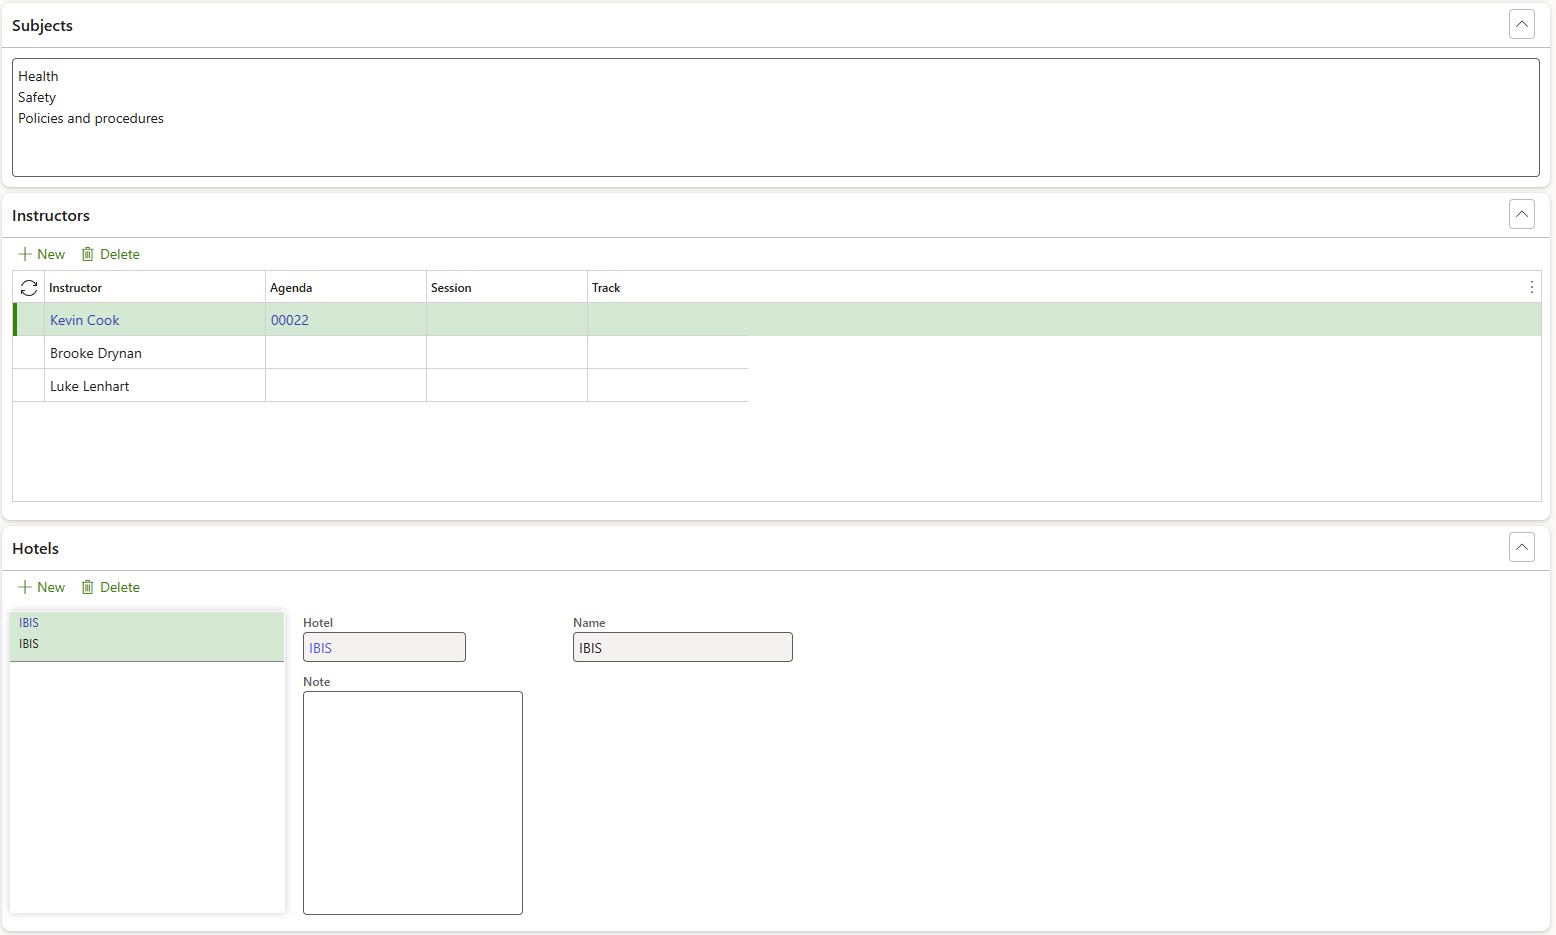
- Subjects
- Instrutors
- Hotels
- Expand the Course cost Fast tab to add cost items for the course
- Click on New to add cost items for the course
- Select a Start date for the cost item if applicable
- Select an End date for the cost item if applicable
- Enter an Amount for the cost item
- Select the relevant Currency from the dropdown list
- Select to indicate if the cost item is covered by In-Seta funding
If cost items were specified in the Course template selected to create the course, those cost items will automatically be added to the course.
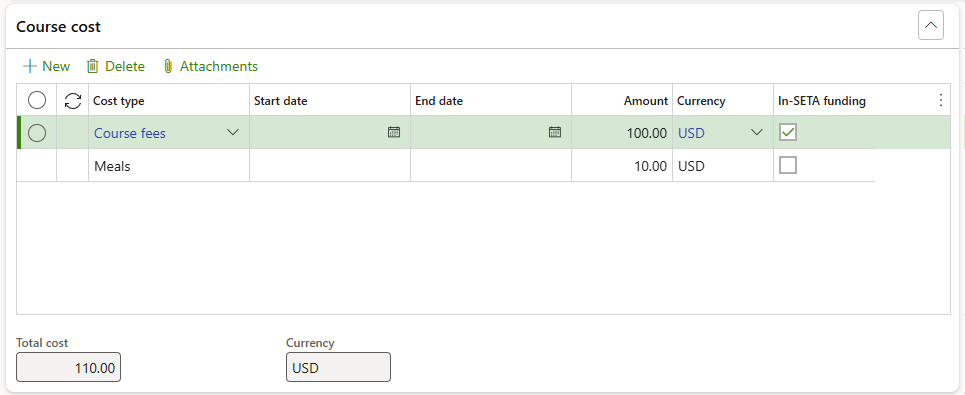
The Total cost will automatically be calculated and displayed for all cost items entered.
- Expand the Skills Fast tab
- Click on the Add skill button to add a new line to the grid
- Select a Skill from the dropdown list
- Select a Level from the dropdown list
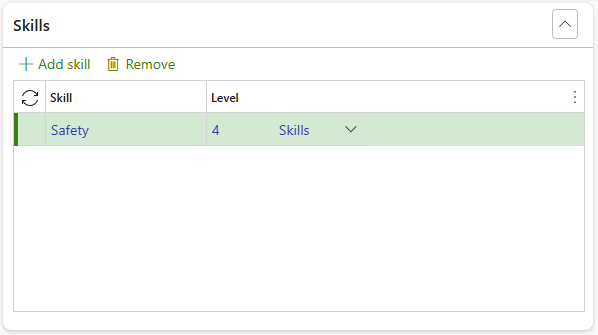
If Skills were specified in the Course template selected to create the course, those skills will automatically be added to the course
- Add Education disciplines and Certificates to the course if applicable
- Expand the Course content Fast tab
- Open the Study guides Index tab
- Click on the Add button
- Select a Knowledge article item from the dropdown list
- Enter an Internet address if available
If Course content was added in the Course template selected to create the course, those content items will automatically be added to the course
- Open the Online content Index tab
- Click on the Add button
- Select a Knowledge article item from the dropdown list
- Enter an Internet address if available
Any knowledge article items included in Course content, will automatically be assigned to participants
The course content Overview tab will automatically list the number of study guides and web links added
- Add Financial dimensions to the course if applicable
¶ Step 3.2: Add course modules
- Click on the Course button in the Action pane of the selected course
- In the Related information button group, select Course module
- Click on the New button in the Action pane of the Course module form
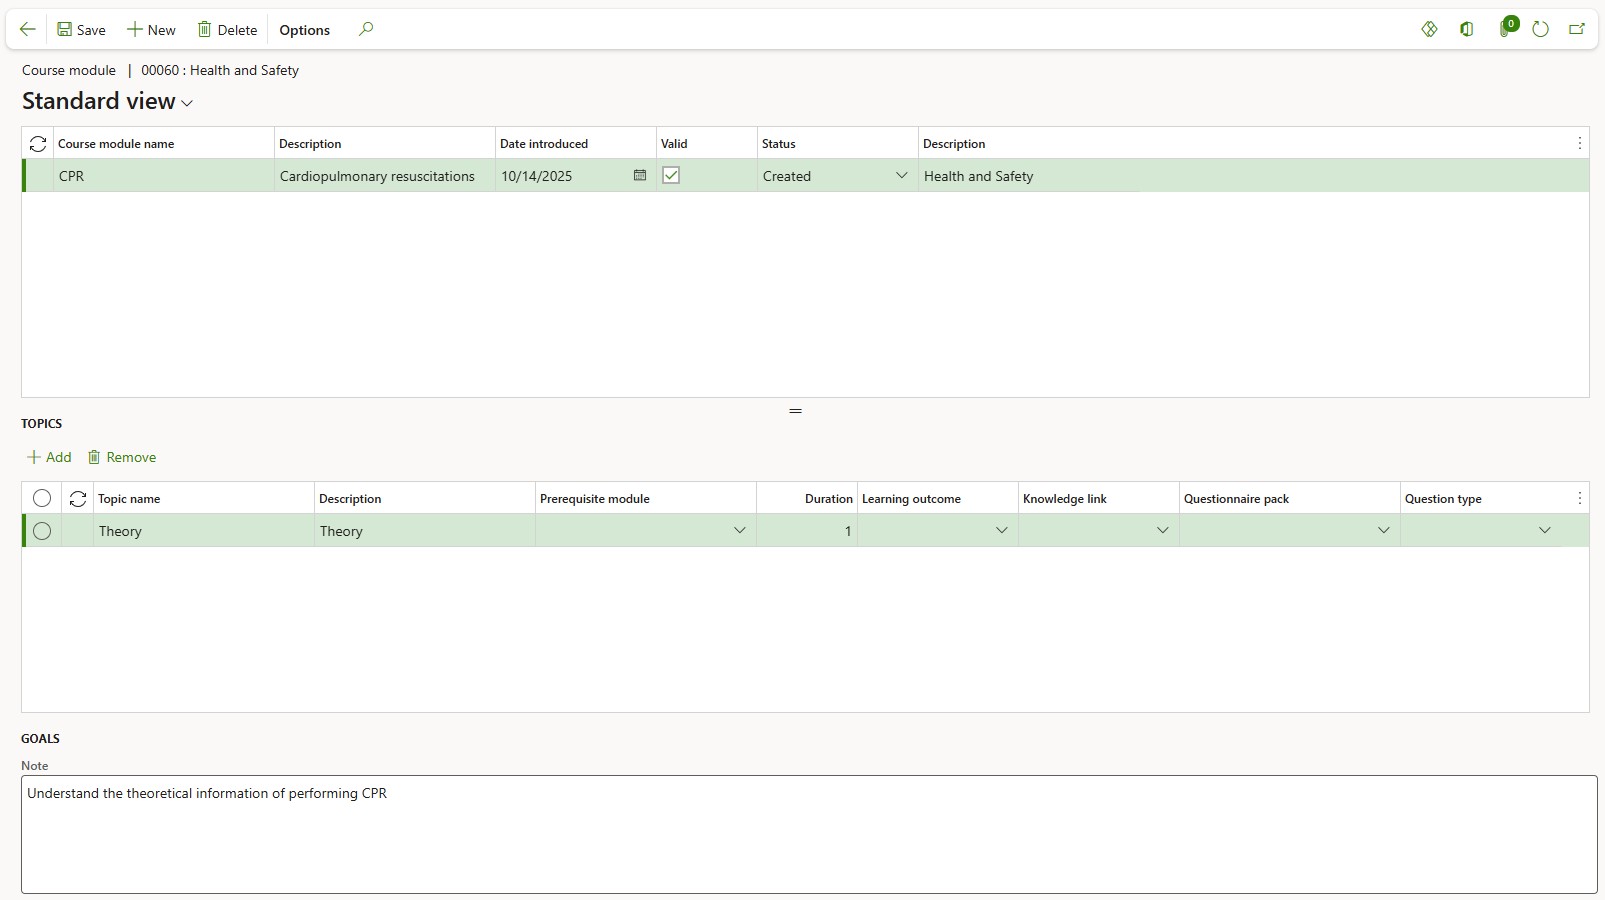
- Enter a Course module name
- Enter a Description for the module
- The Date introduced will default to the current date but maybe changed if required
- Select the Valid checkbox to indicate the module as valid
- The Status will default to Created but may be changed if approved or cancelled
- In the Topics grid, add topics included in the module by clicking on the Add button
- Enter a Topic name
- Enter a Description
- Select a Pre-requisite module from the dropdown if required
- Enter a number value for Duration
- Select a Learning outcome from the dropdown if applicable
- Select a Knowledge link from the dropdown if applicable
- Select a Questionnaire pack from the dropdown if applicable
- Select a Question type from the dropdown if applicable
- List the Goals in the memo box below the Topics grid
- Click Save in the Action pane
- Click on the back button to return to the course form
¶ Step 3.3: Create and view an invoice
To create and access invoices for the course:
- Click on the Course button in the Action pane of the selected course
- In the Billing button group, select Create invoice
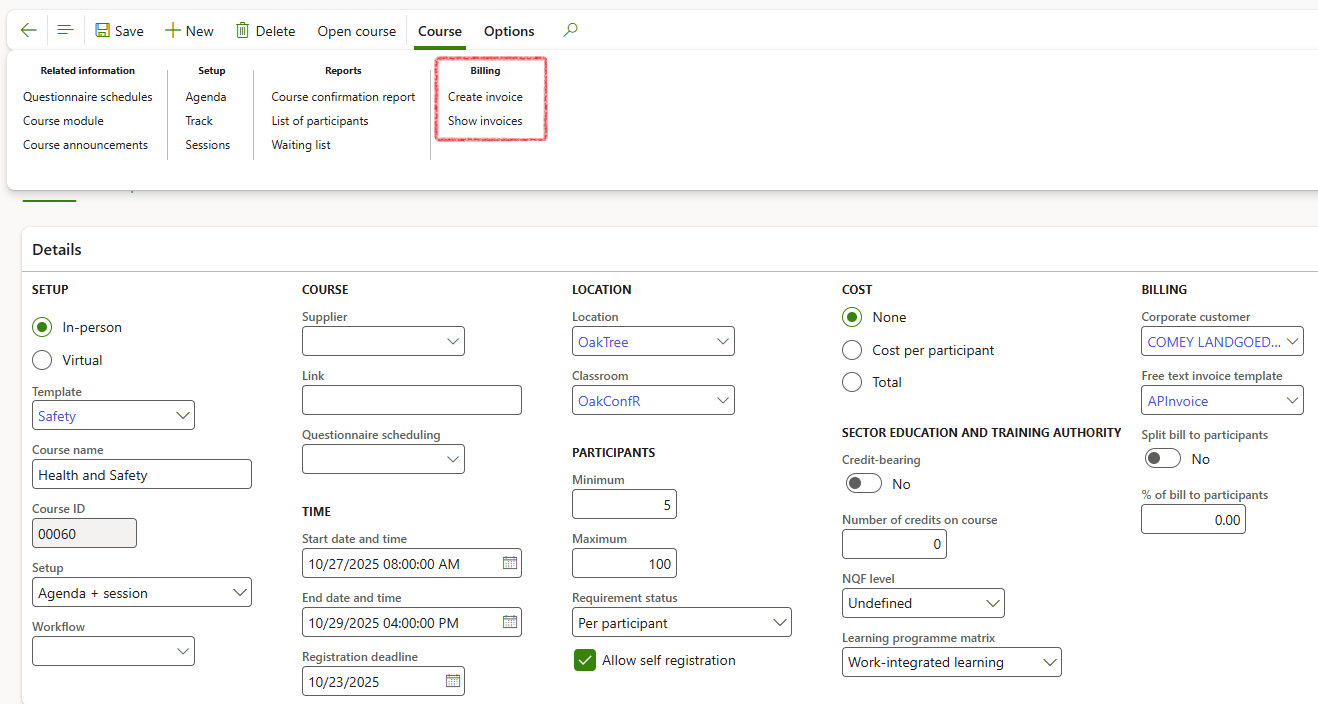
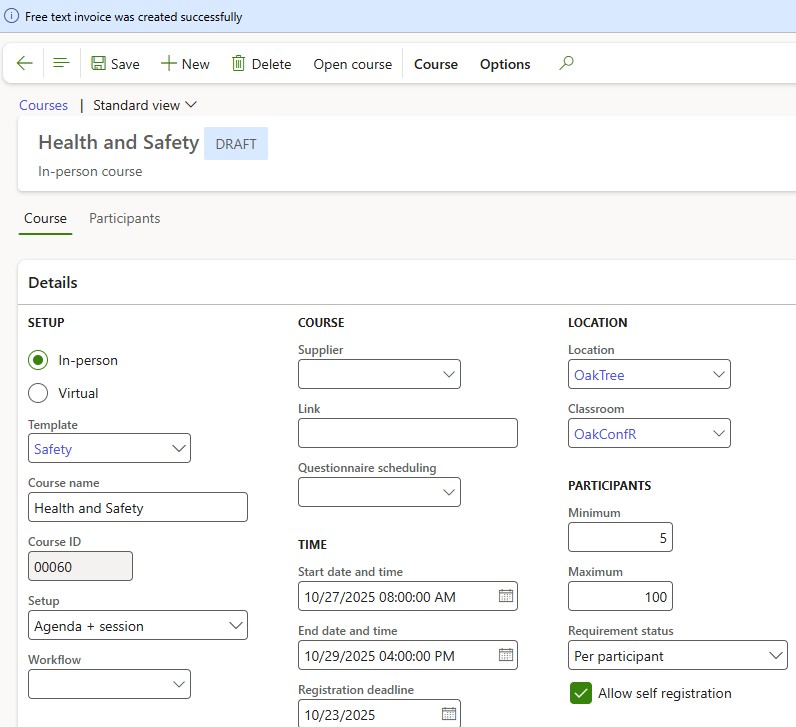
- A blue confirmation line appears at the top of the form to indicate the invoice creation was successful
- To access invoices generated for the course, click on Course in the Action pane then select Show invoice in the Billing button group
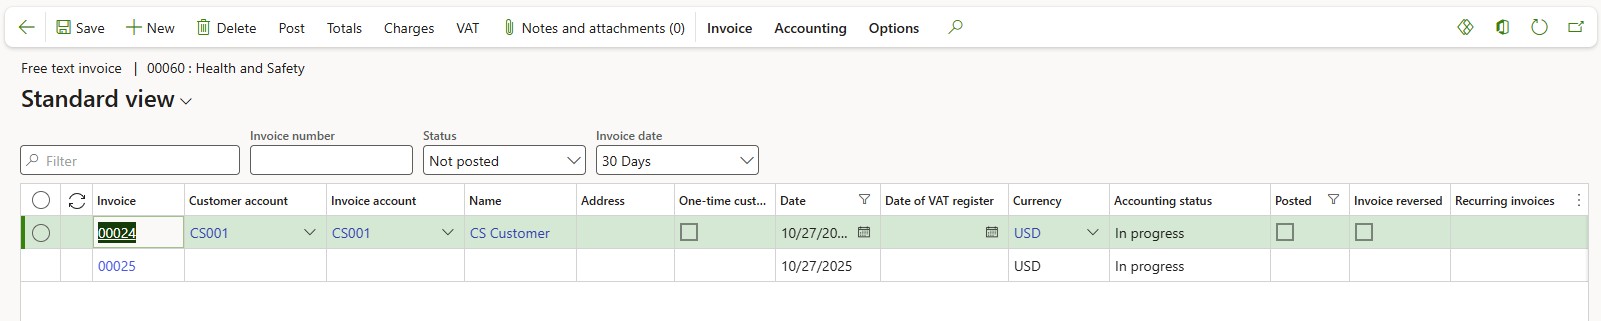
- Click on the back button to return to the course
¶ Step 3.4: Open the course
During the course setup phase, the status of the course is indicated as Draft. Additional standard D365 data may be added including Agendas and Questionnaire schedules. Once the course is ready to be published and made available to participants to be registered:
- Click on the Open course button in the Action pane
- Select Yes in the Update course status to Open? confirmation dialogue
The status of the course will now be set to open and allow participants to be added to the course
¶ Step 4: Manage participants
When participants are added to an open course, a participant record is automatically created in Course participants list for each course they have been added to.
- Go to: Human resources > Courses > Course participants
- Filter for and select the appropriate participant for the correct course from the list:
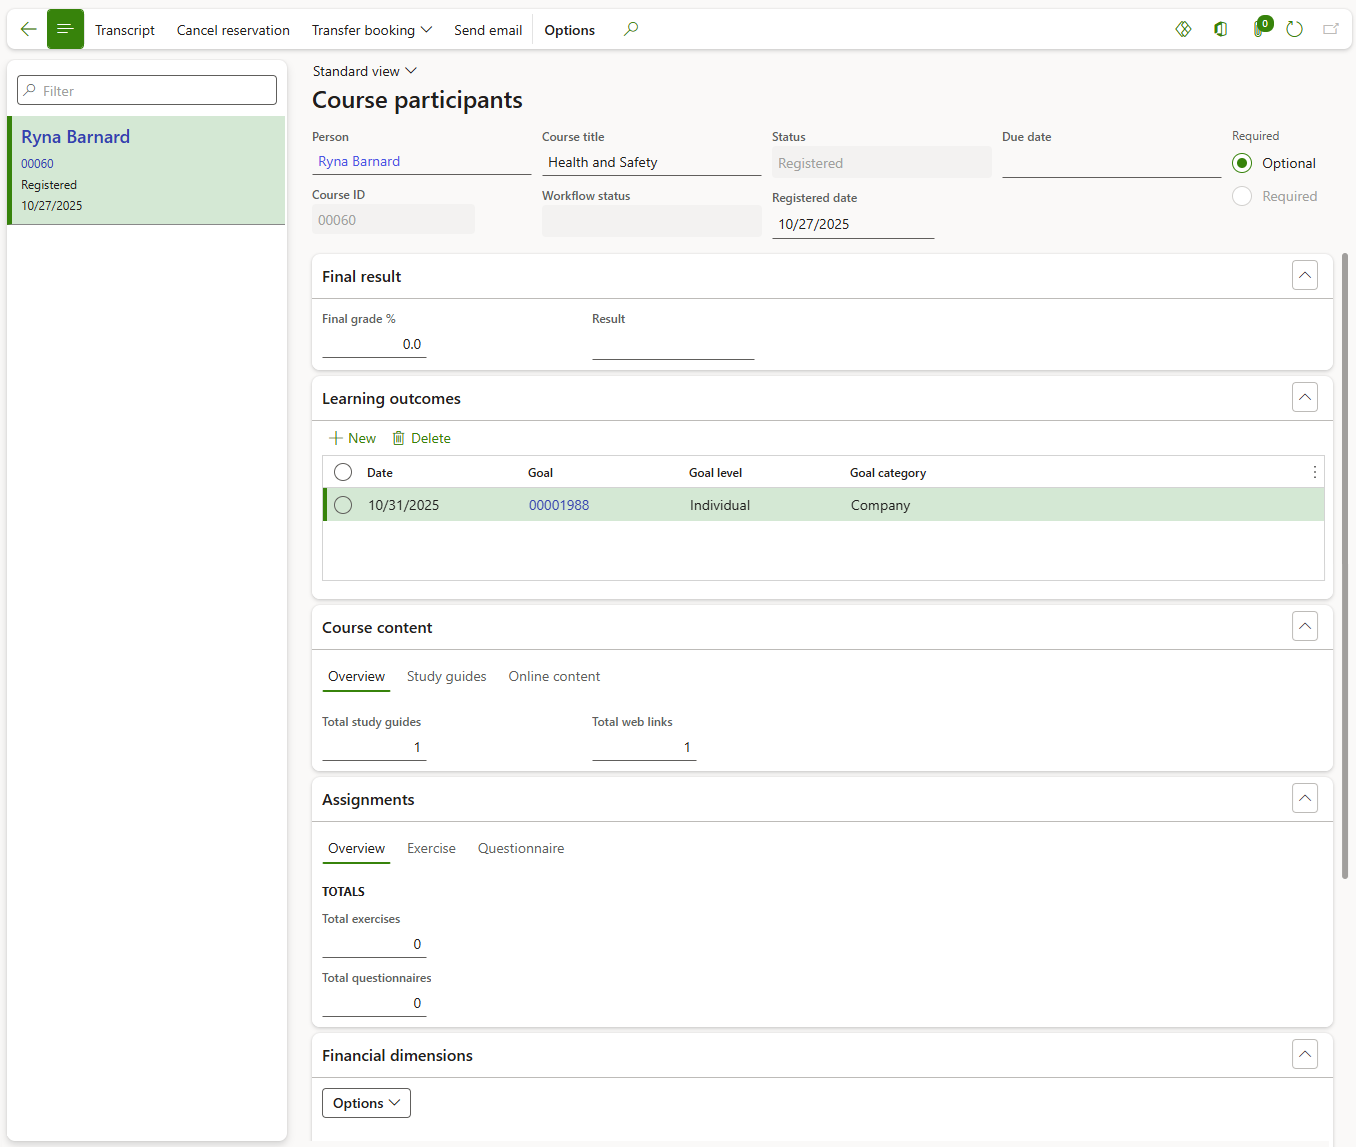
¶ Step 4.1: Learning outcomes
To add personal worker goals to be accomplished by completing the course:
- Expand the Learning outcomes Fast tab
- In the Button strip, click on the New button
- Select a Date by when the goal should be accomplished
- Select a Goal from the dropdown list
- Select a Goal category
¶ Step 4.2: Course content
Course content added to the course will automatically be listed. However, course content may be updated for individual participants in the relevant Fast tab. Follow steps as explained in previous steps.
¶ Step 4.3: Assignments
If any questionnaires have been assigned and scheduled for the course of course modules, the Exercises and Questionnaires will be accessible from the Assignments Fast tab.
¶ Step 4.4: Cancel reservation
- To cancel a reservation for a participant, select the correct participant record for the relevant course
- In the action pane, click on Cancel reservation
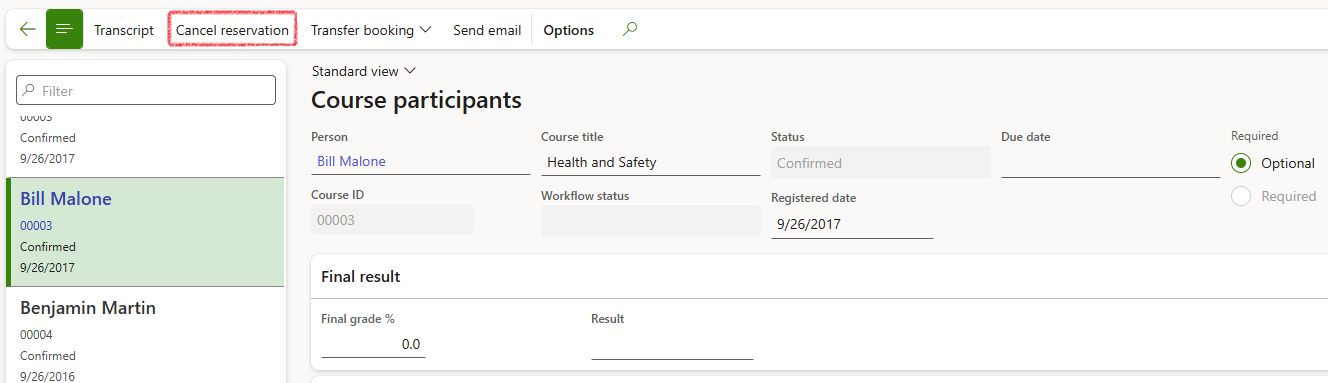
- Select Yes in the Update status to Registration cancelled? confirmation dialogue
- The status of the participant will now appear as Registration cancelled in both the Participant record and in the Course itself
¶ Step 4.5: Transfer booking
To transfer a participant from the current selected course to another:
- Click on Transfer booking in the action pane
- Select a New course in the dropdown list
- Click on OK in the dropdown menu
- The Course ID will be updated for the Participant and the affected Courses will automatically be updated as well
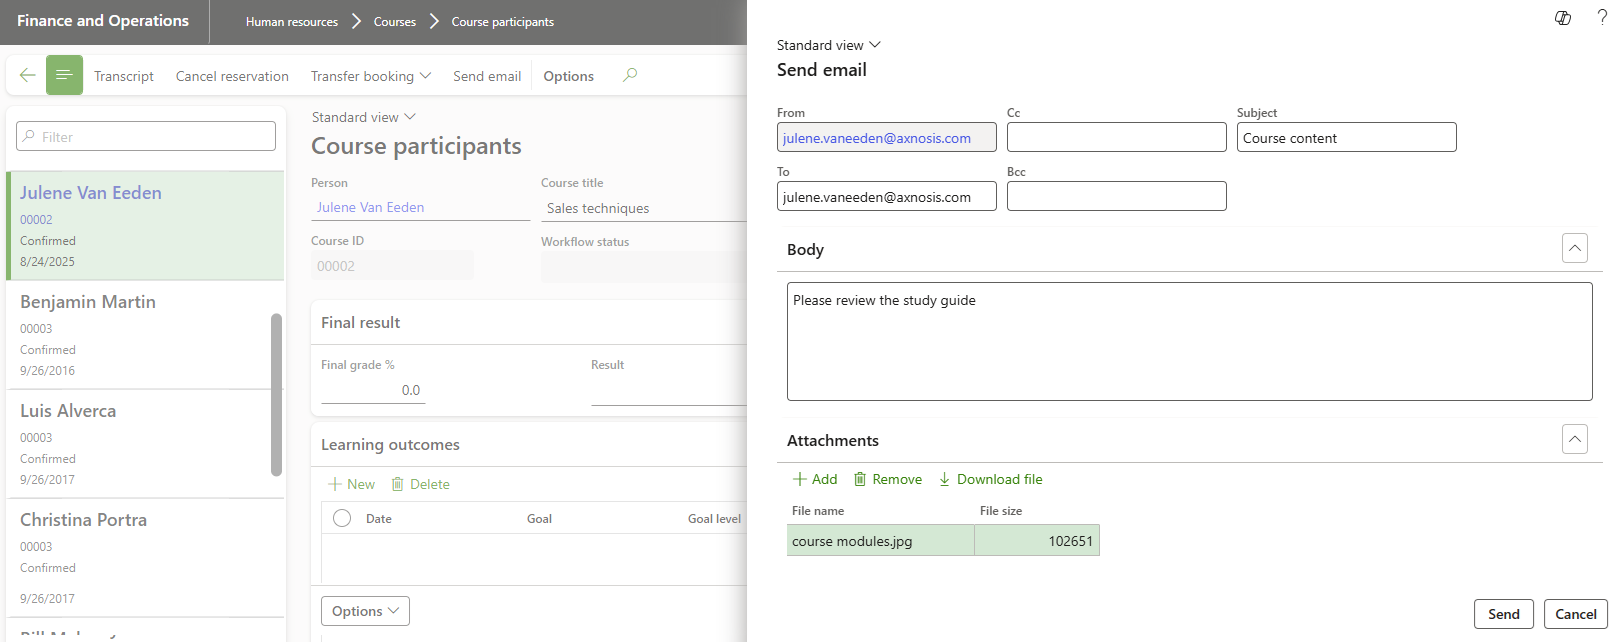
¶ Step 4.6: Send emails to participants
To communicate with the participant via email, a primary email address must first be recorded for the worker. To send an email:
- Click on Send email in the action pane
- The Send email dialogue will appear:
- Add additional email addresses if required in the Cc or Bcc fields
- Add a Subject for the email
- Add text for the email body
- Add Attachments if required
- Click on Send
¶ Step 4.7: Record a transcript
- Click on Transcript record in the action pane for the relevant participant and course
- Click on New in the action pane
- Select a Module in the dropdown list
- Select a Topic in the dropdown list
- Select the Achievement date
- Enter the Final score %
- Add the Instructor name if applicable
Refresh the form to view the updated Result i.e. Passed or Failed
- Click on the back button to return to the participant
- The Final result will be displayed in the Participant form as well

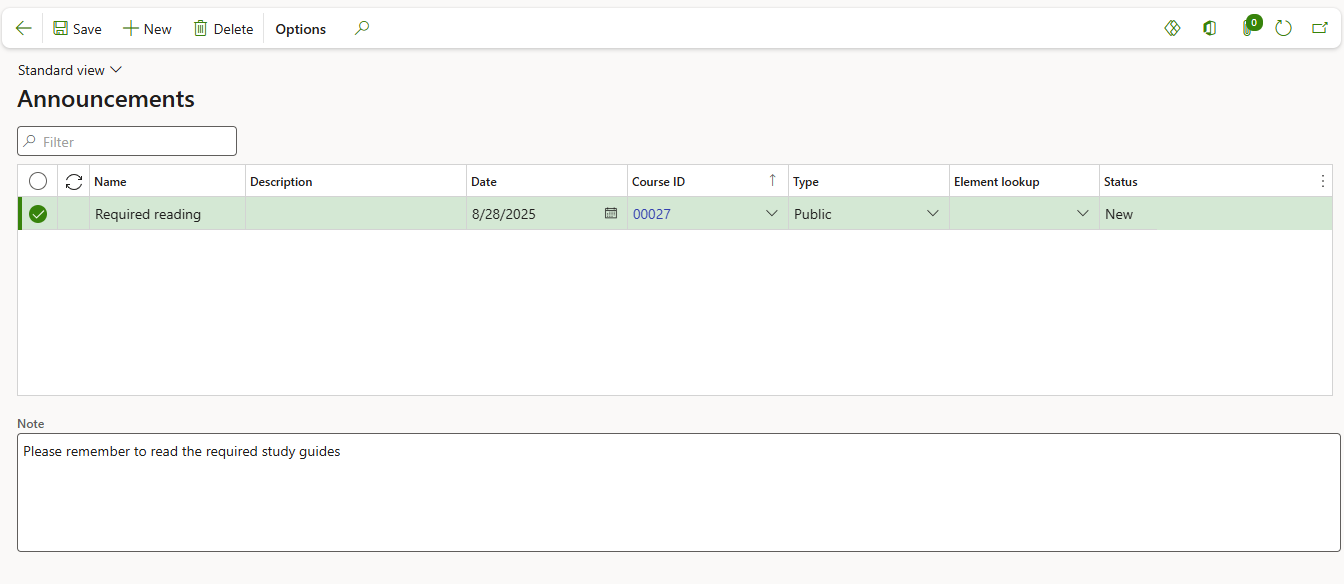
¶ Step 5: Make course announcements
Course announcements may be added to alert participants to course information. The announcements may be added from either the Course itself or from the Course announcements menu item for Human resources.
¶ Step 5.1: Make an announcement from a Course
- Go to: Human resources > Courses > All courses
- Select the relevant course from the list
- Click on Course in the action pane then select Course announcements in the Related information button group

- In the Action pane, click on the New button
- Enter a Name for the announcement
- Enter a Description if required
- Enter a Date
- Enter a Note
- Click on the back button to return to the course
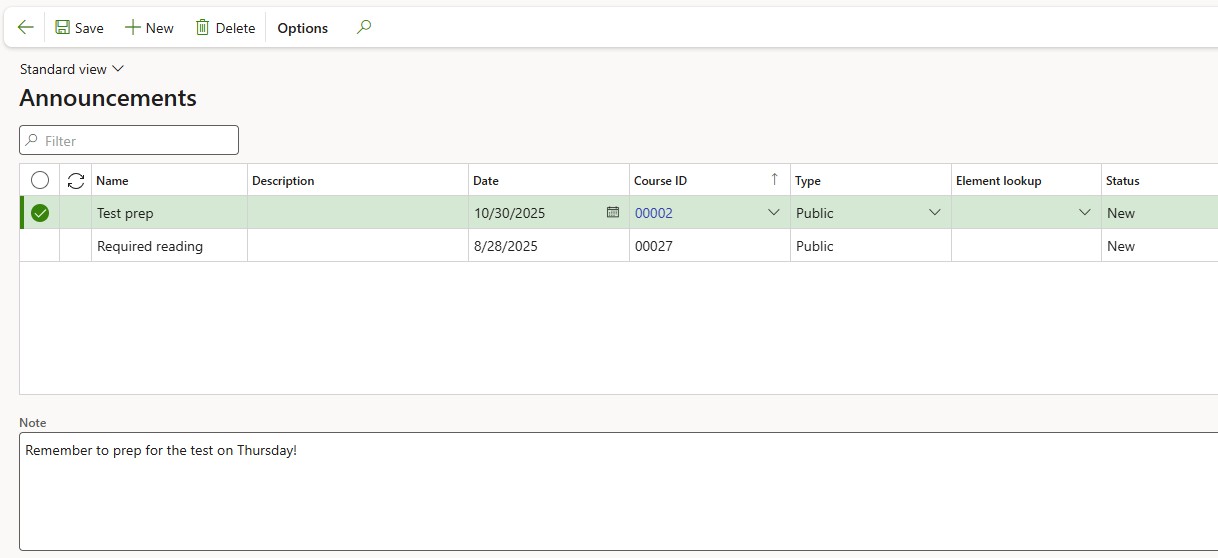
¶ Step 5.2: Manage announcements from Human resources menu item
Go to: Human resources > Courses > Course announcements
A list of all announcements will appear, and new announcements can be made as explained in the previous step but the course must be selected manually if created via this process
¶ Enquiries and Reports
¶ Step 6: Learning workspace
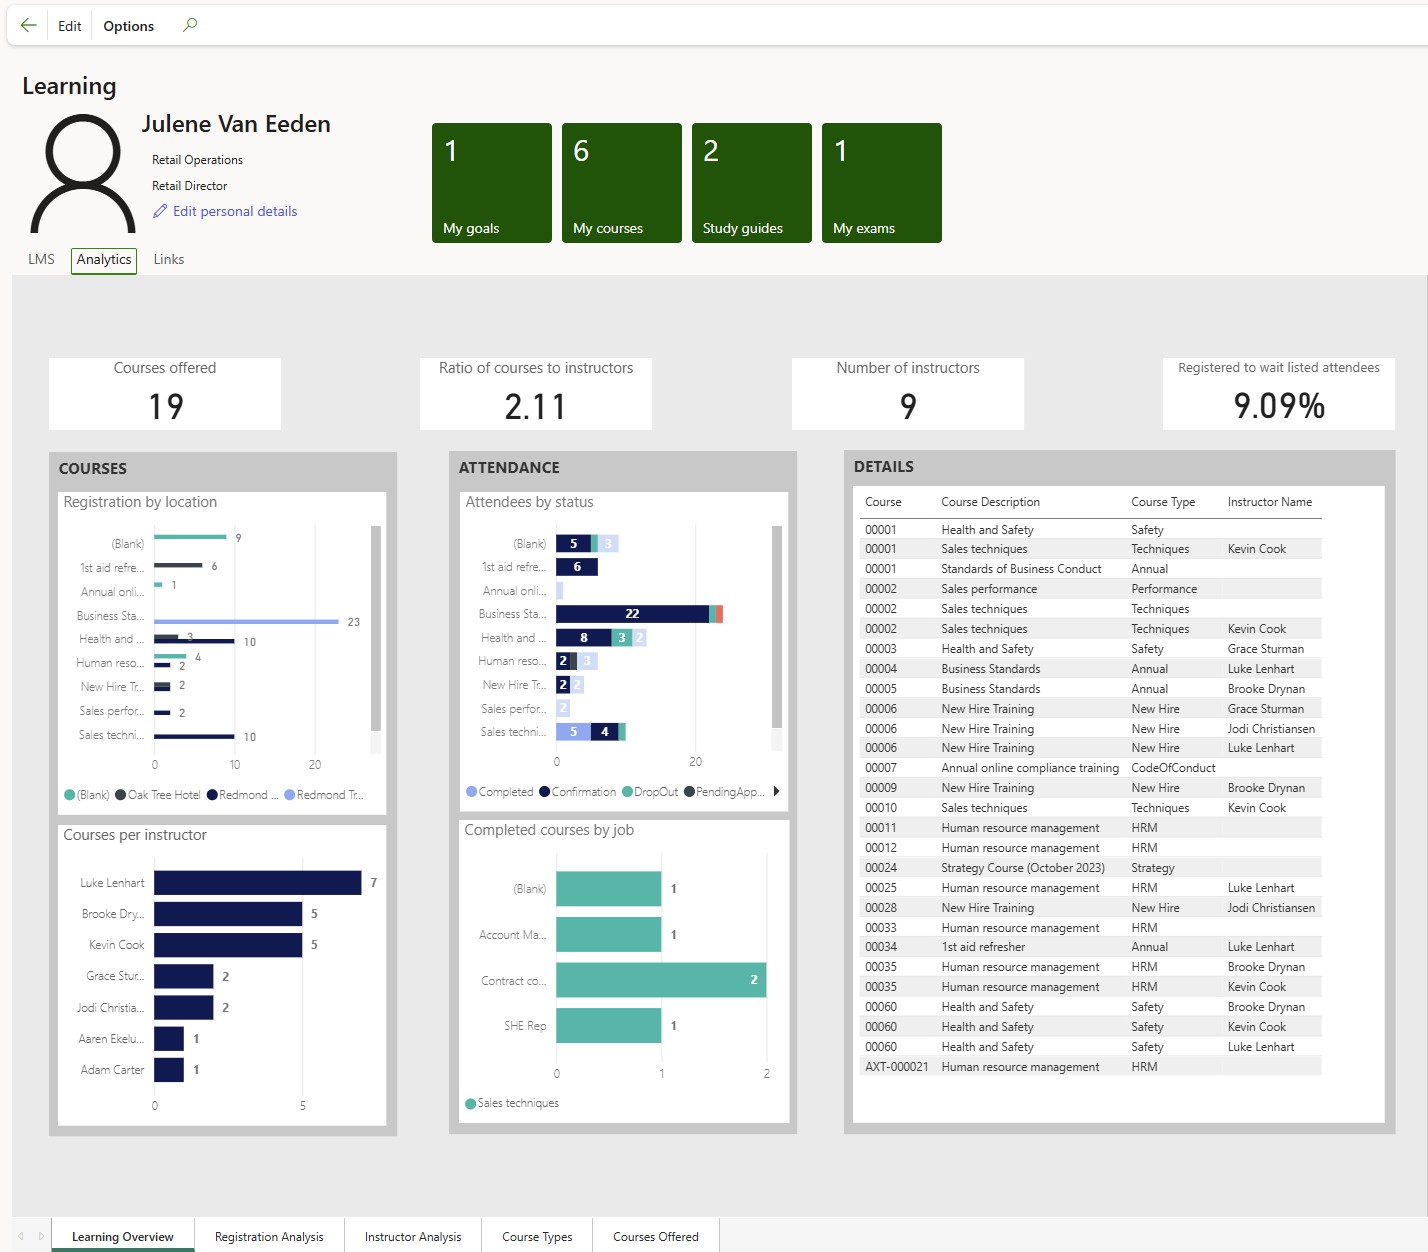
Access the Learning workspace directly from the F&O home or from Human Resources workspaces menu.
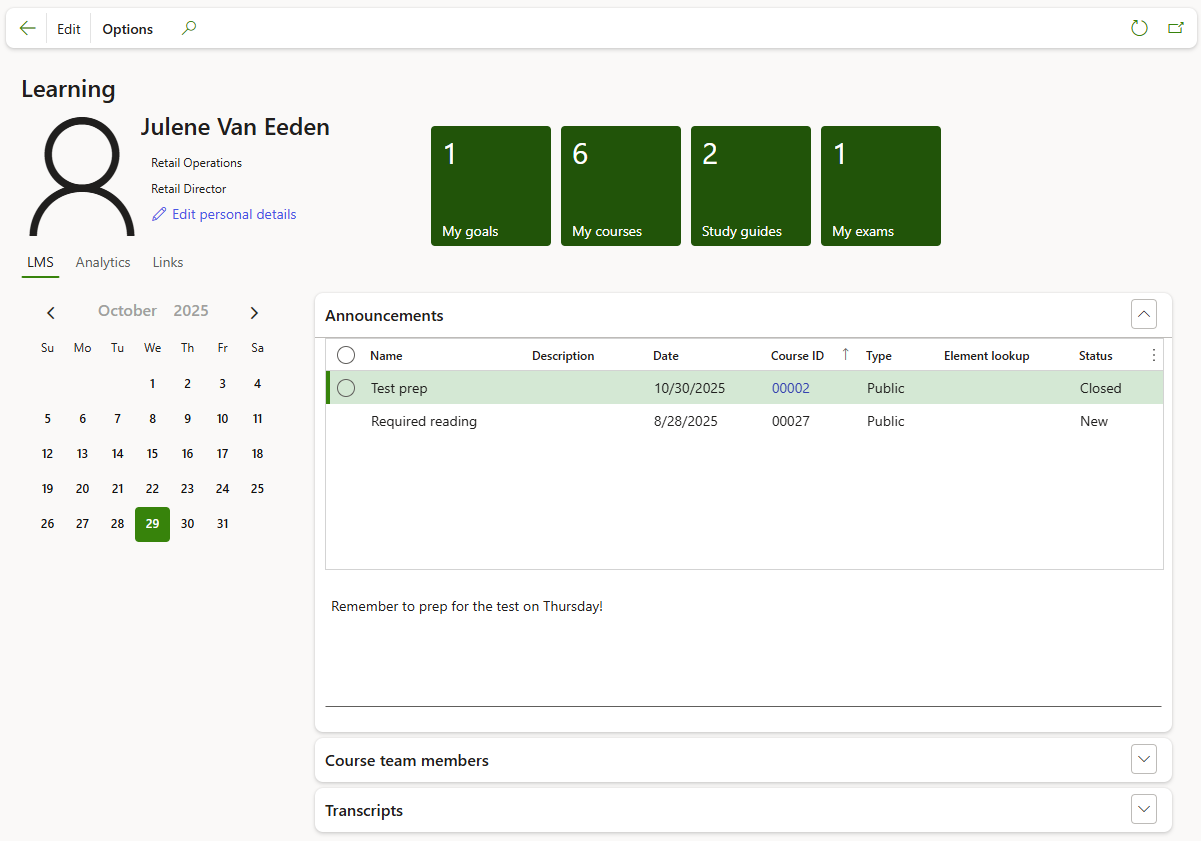
The worker's name, position and department are displayed in the header. Workers may also choose to Edit personal details by clicking on the provided button.
The workspace provides access for workers to their learning content and details as well as announcements and exams.
- To view and maintain worker goals, click on the My goals tile

- To view and access all courses the worker is added to as a participant, click on the My courses tile
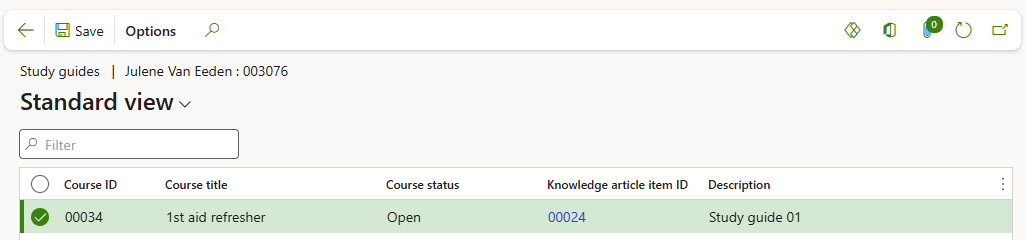
- To list and access knowledge articles assigned to the workers as a participant in courses. click on the Study guides tile
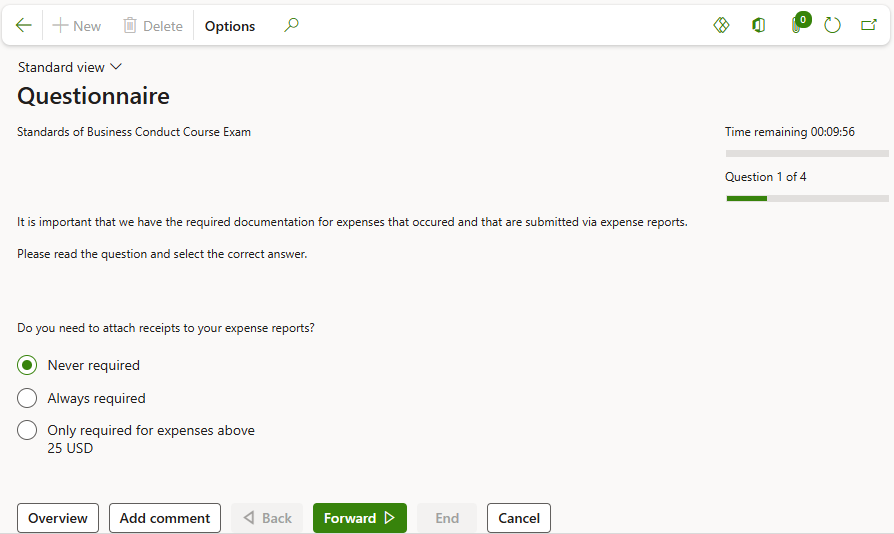
- To access and complete exams (questionnaires) assigned to the worker; click on the My exams tile.
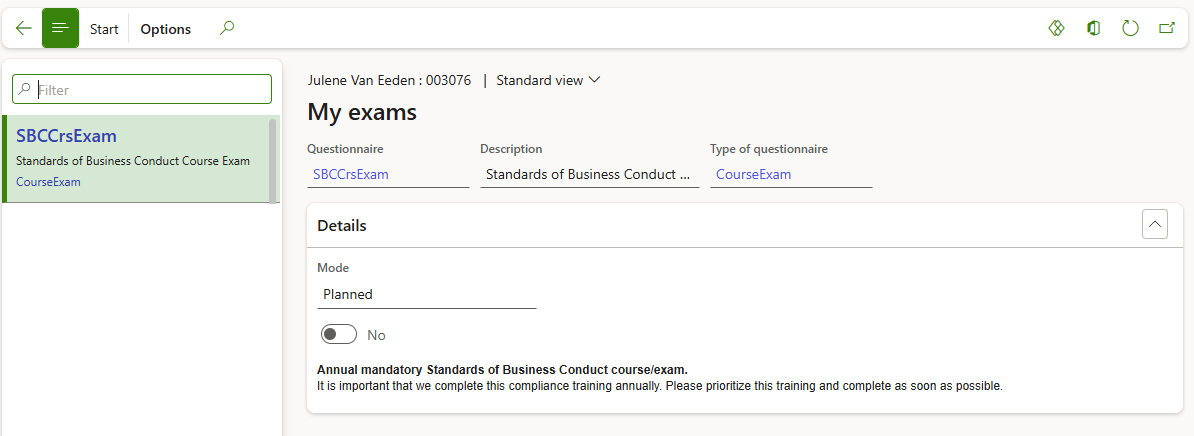
- Select the appropriate exam, then click on Start in the action pane to complete the exam questionnaire
- In addition to learning content, statistics regarding all courses can be seen when selecting the Analytics index tab in the workspace and then selecting a relevant tab for either Learning Overview; Registration Analysis; Instructor Analysis; Course Types and Courses offered
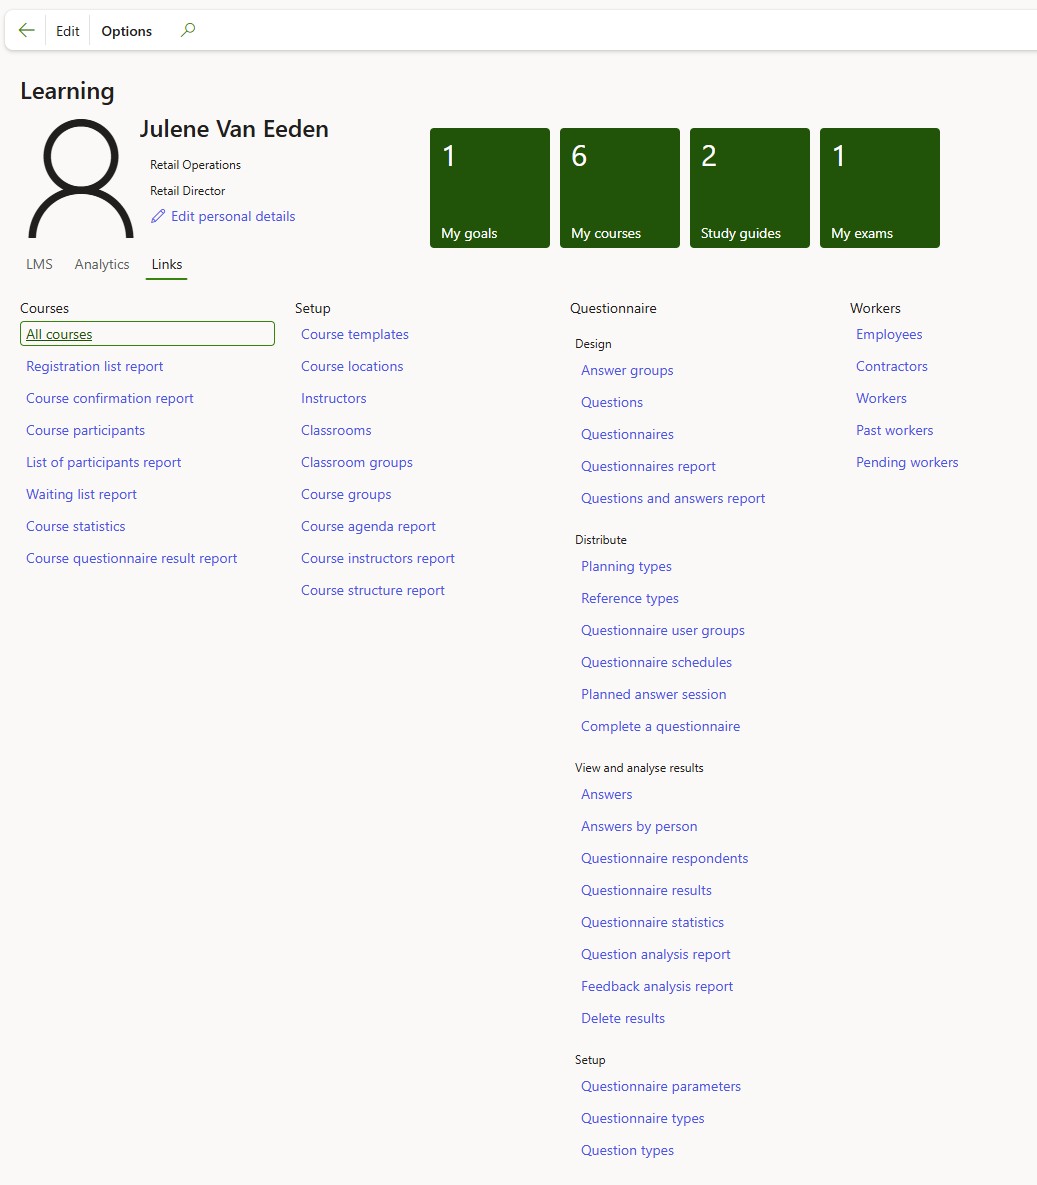
- Select the Links index tab for access to various Learning related forms
¶ Step 7: Generate a certificate of completion
If the final result captured for a worker is Passed, then a Certificate of completion may be generated
- Go to: Human resources > Courses > Participant
- Select the appropriate Participant record for the passed course
- Click on Transcript record in the action pane
- Click on Certificate of completion in the action pane
- The report may be viewed and then downloaded or printed as required. The certificate will include the logo recorded for the legal entity in organization setup.